


.png)
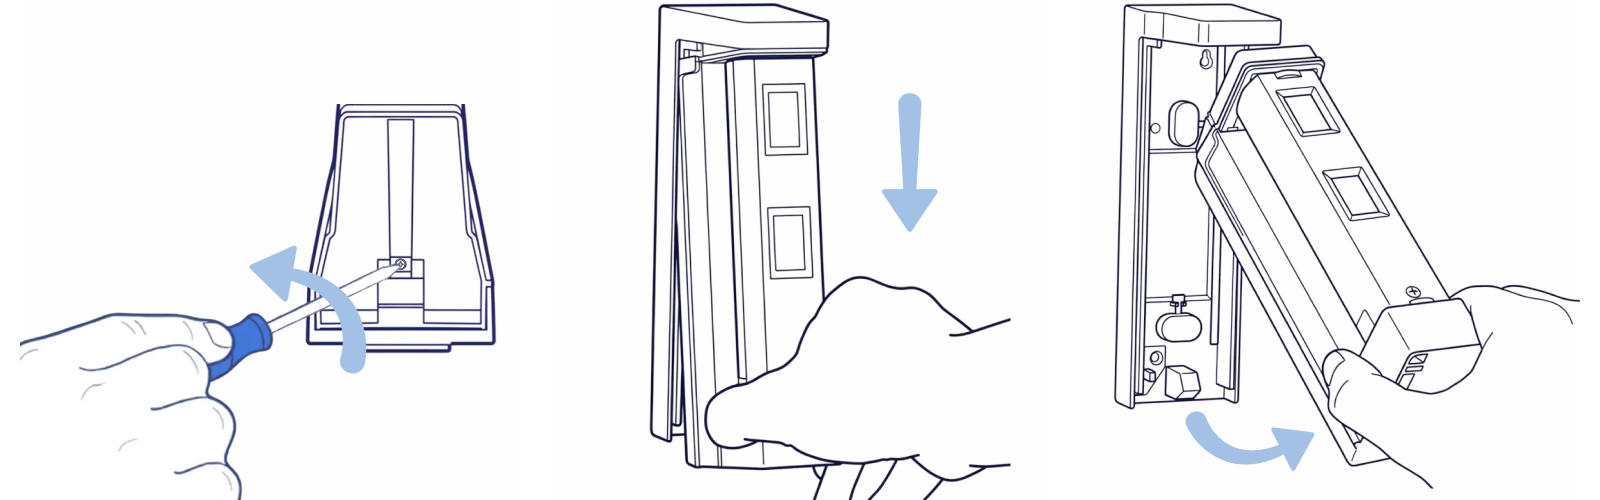
Step 1
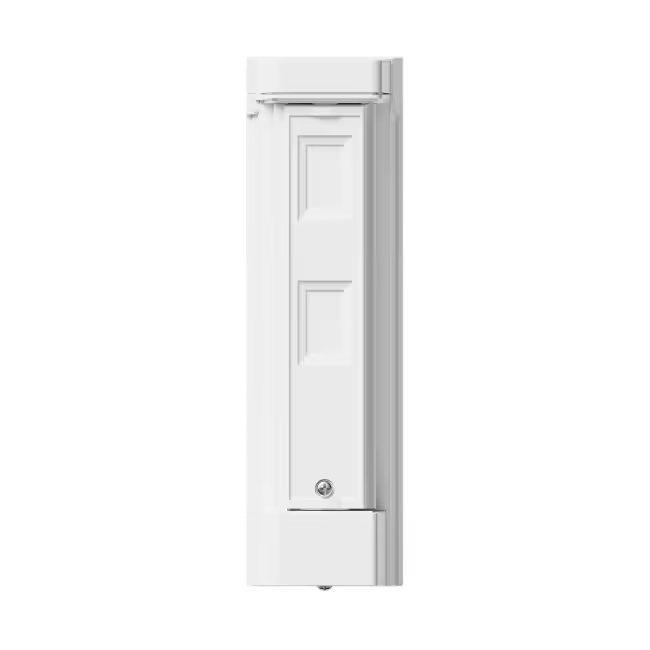
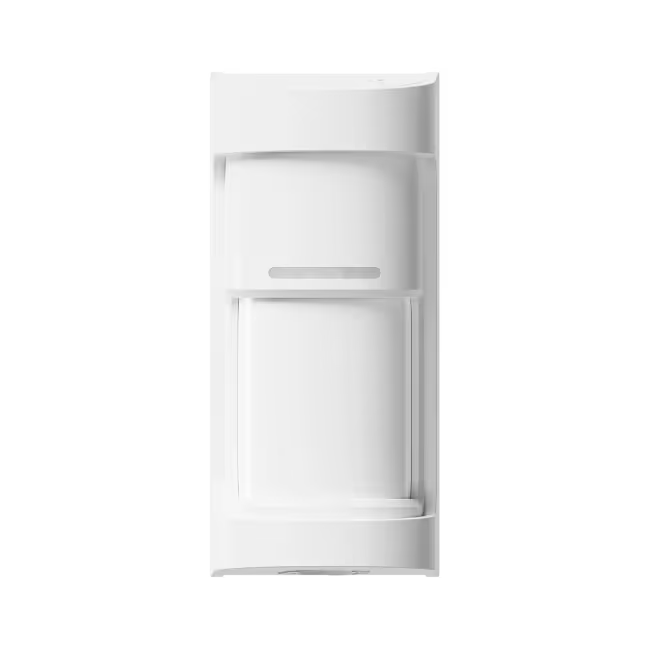
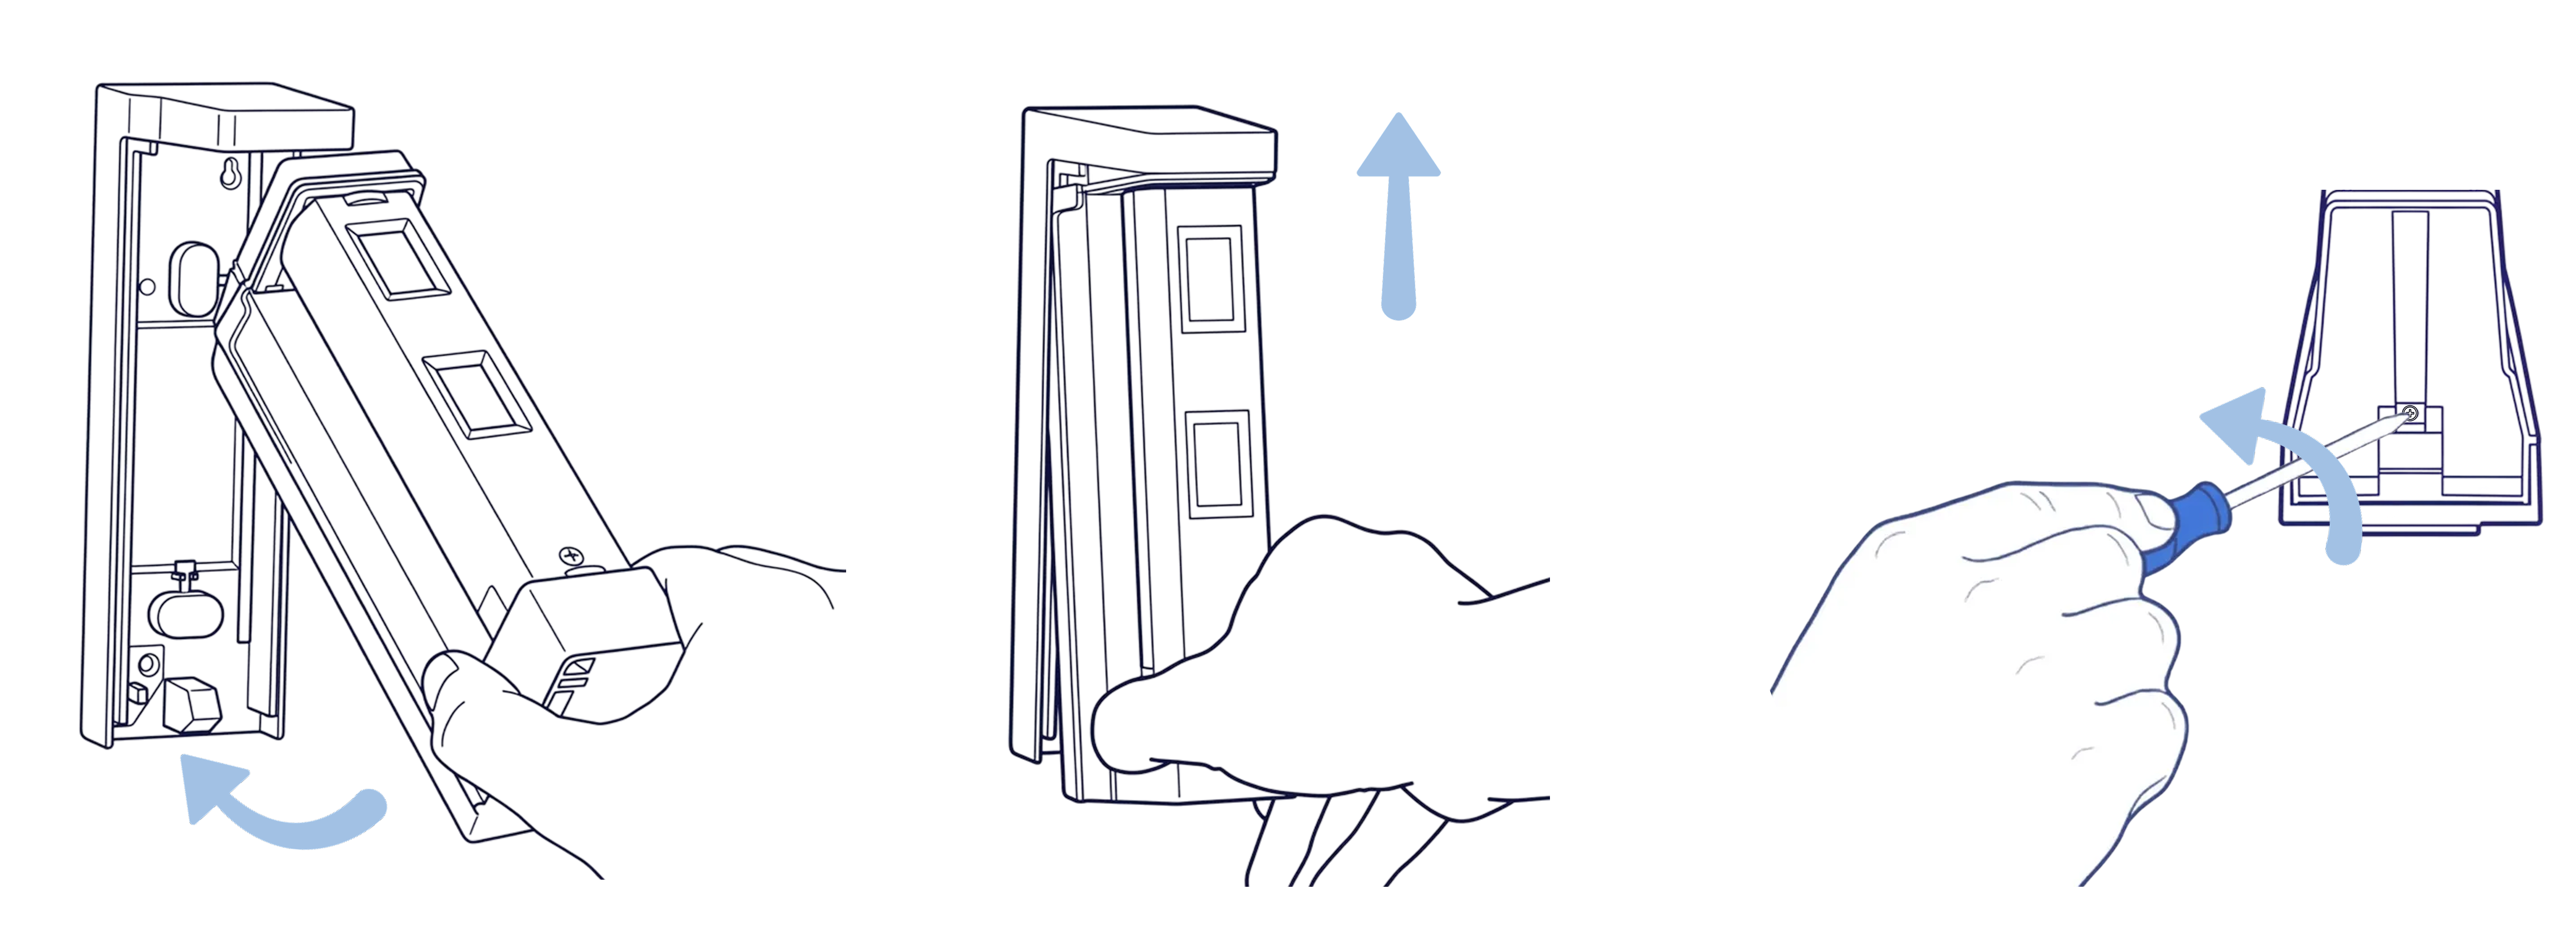
Remove the detection unit
Remove the locking screw using a flathead screwdriver, then slide out the main detection unit.
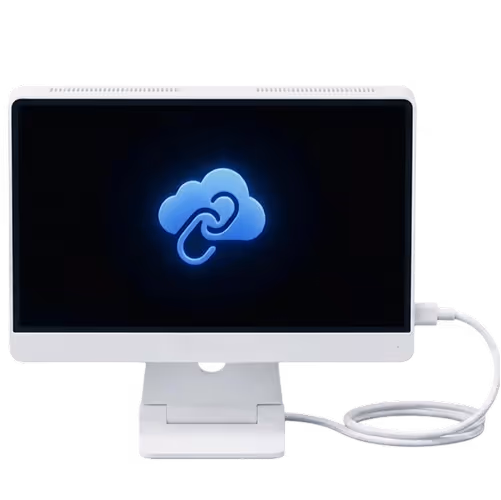
Step 2
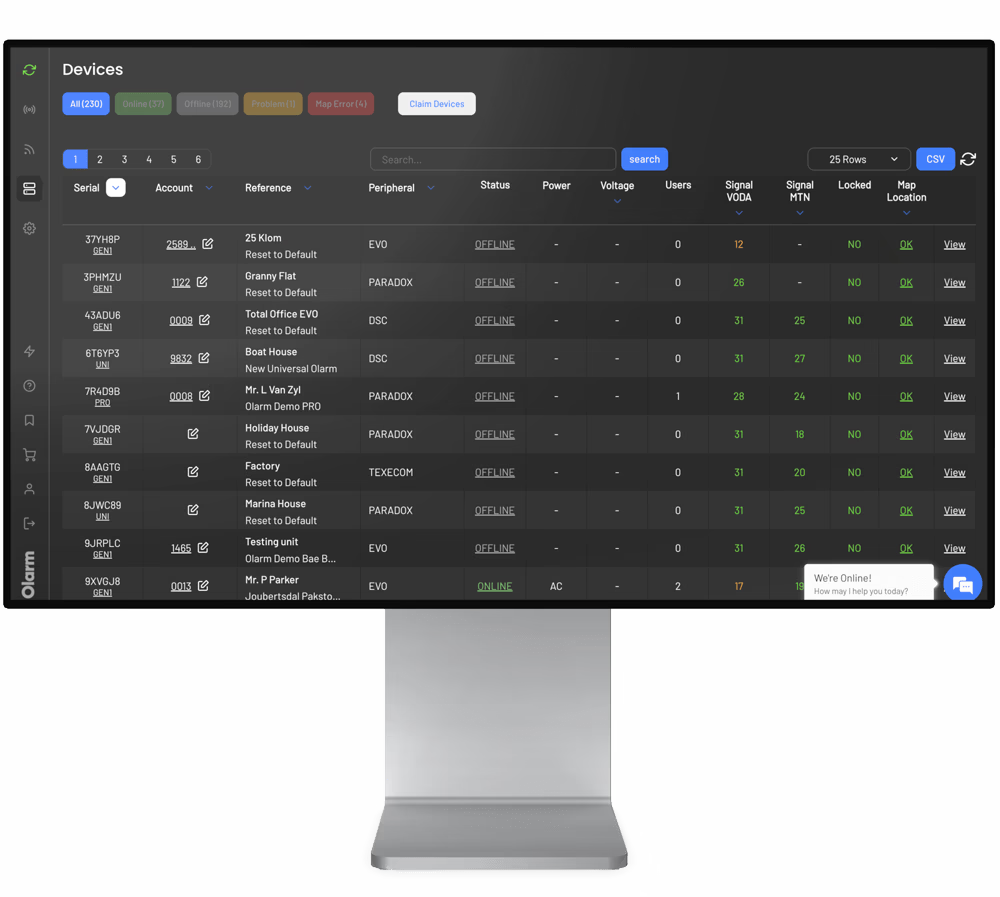
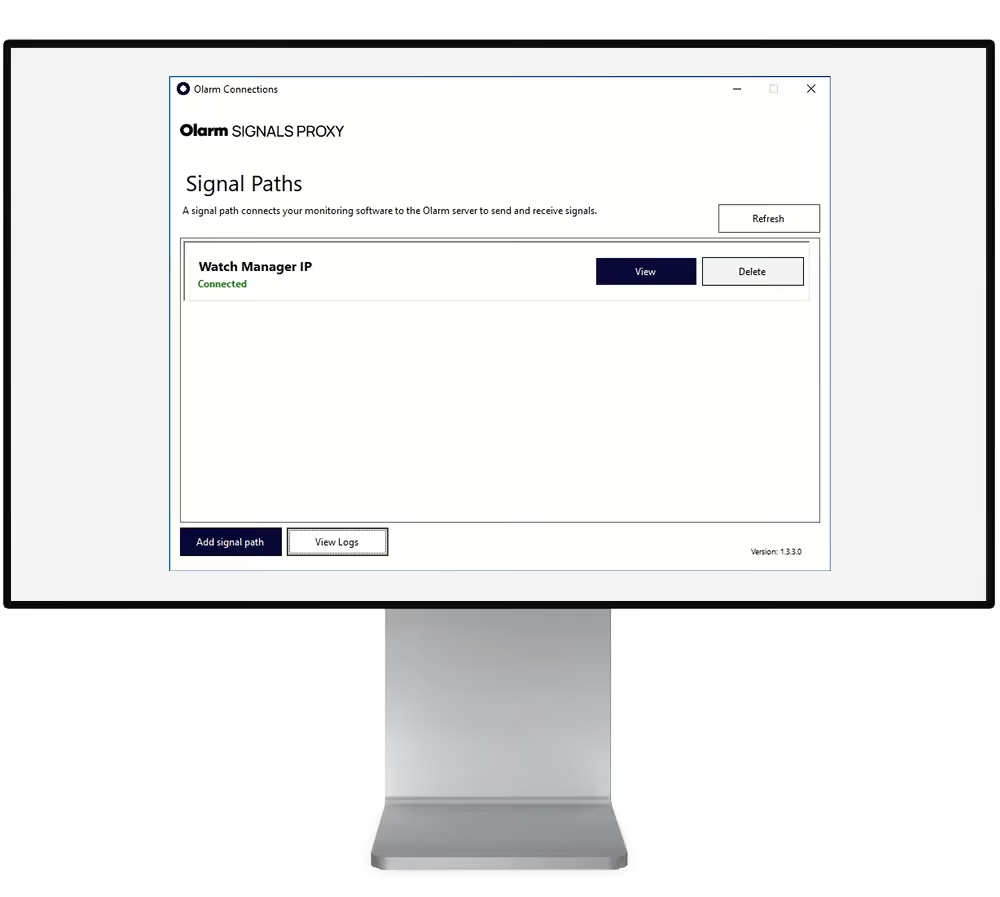
Add your device & configure zone
Scan the QR code on your Olarm CONNECT to add the device. Once added, configure the zone and detector settings in the app.
Step 3
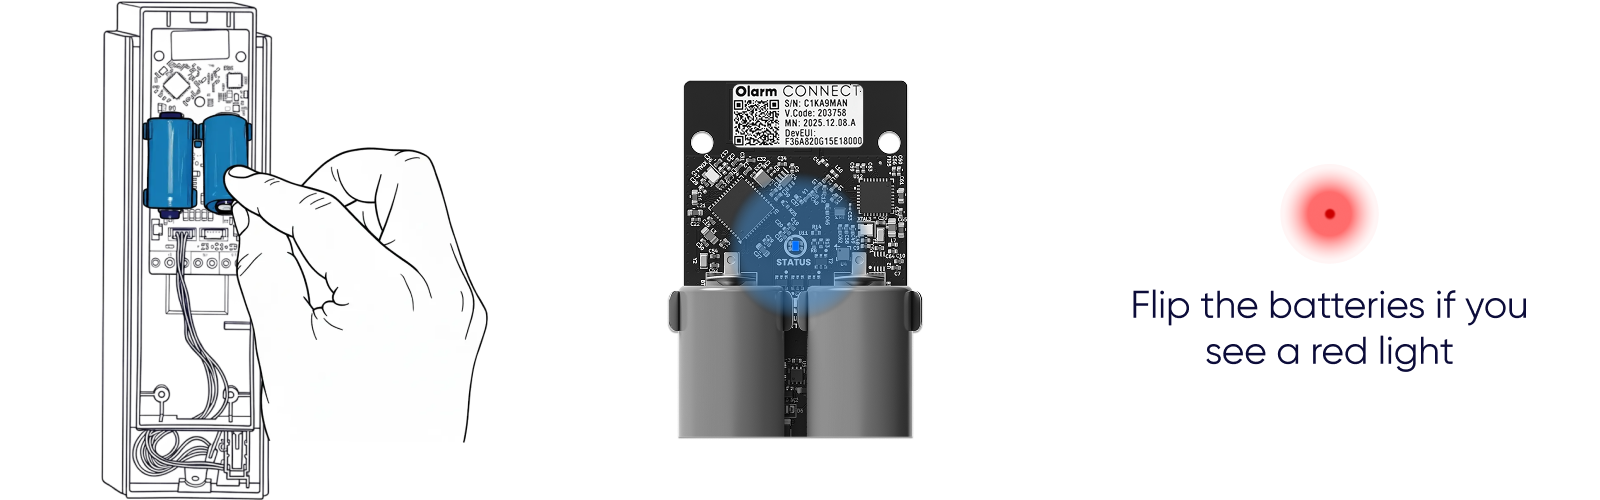
Insert the batteries
Insert the batteries into the Olarm CONNECT correctly (- at top, + at bottom). The status LED will flash blue when powered on. If you see a red light, flip the batteries.
Step 4
Choose your angle & position
The FitX can be installed forward-facing or in a corner. See the orientation options below for your setup.
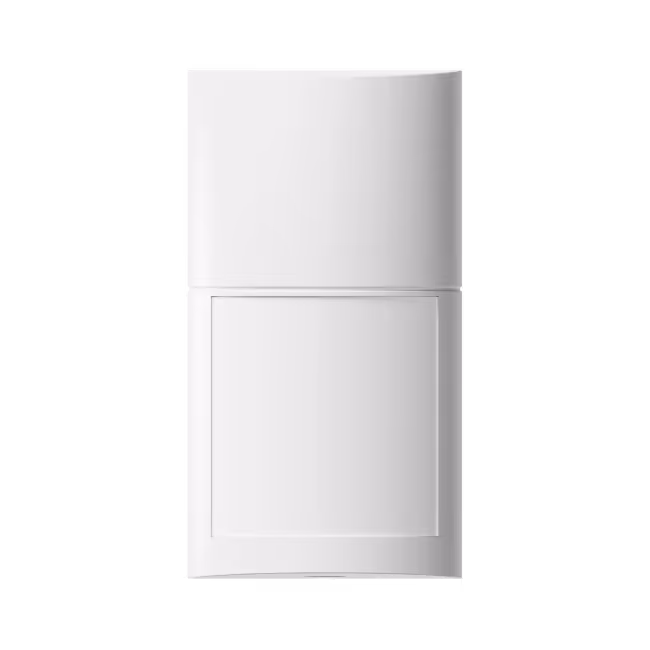
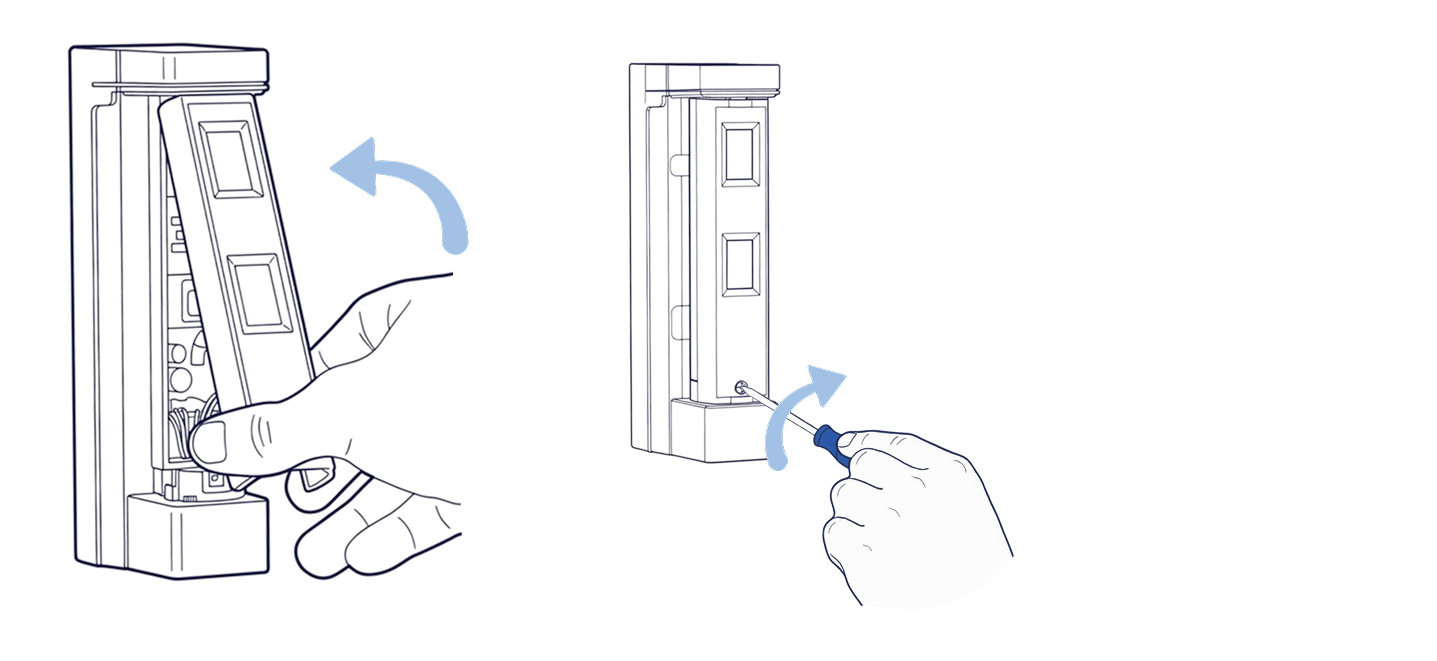
Remove the lens and fixture
Unscrew and remove the front lens, then lift out the locking fixture to allow the detection unit to swivel for repositioning. Handle these parts with care.

Step 4.1
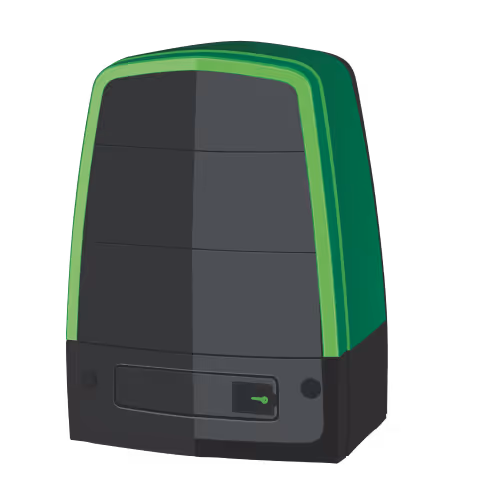
Installing: Forward-facing
Mount the backbox flat against the wall with the sensor facing directly outward for standard room coverage.
%20(1).png)
Step 4.1.1
Align the locking fixture
Position the locking fixture with the left or right alignment marker based on your wall position. Ensure the fixture is inserted correctly.

Step 4.1.2
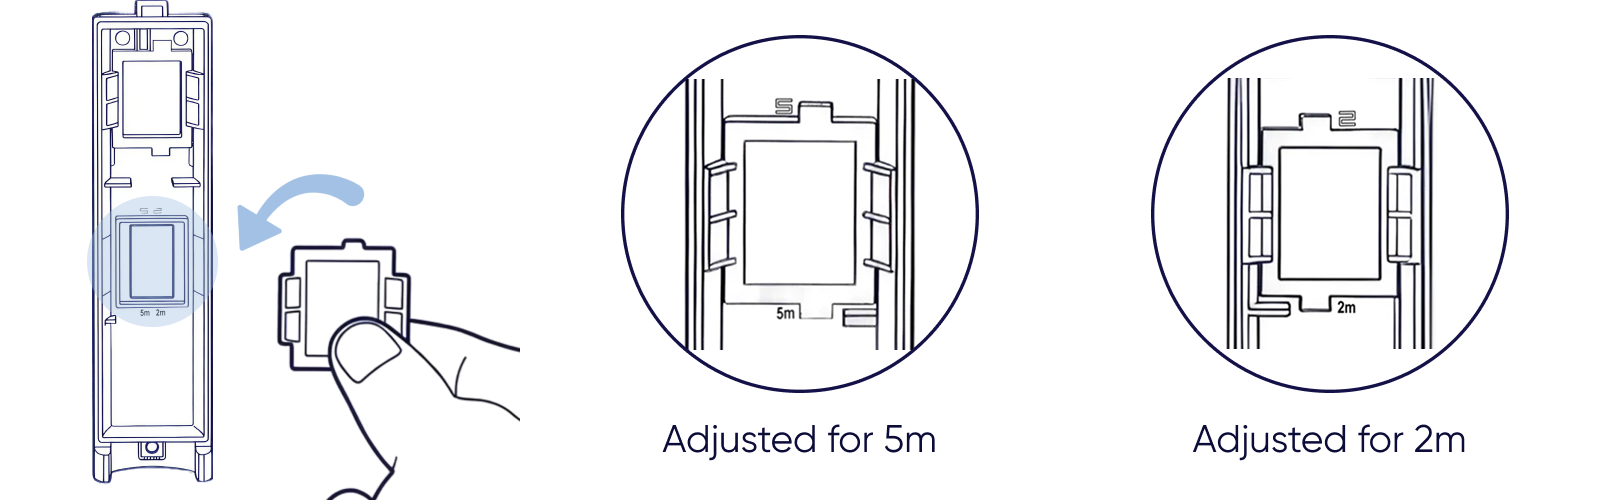
Adjust the detection range
Flip the bottom lens to adjust the detection distance to suit your environment.
Step 4.2
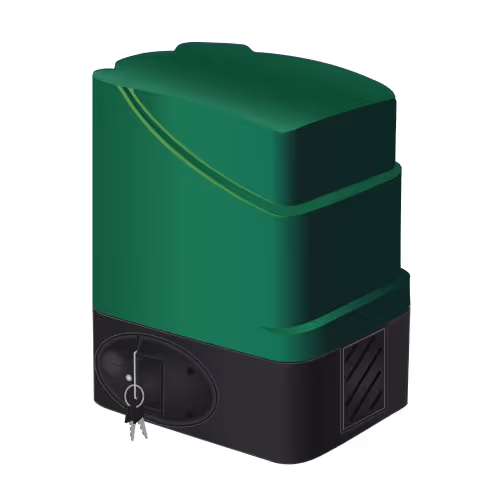
Installing: 90° Corner mount
Mount the backbox in a corner at a 90° angle for wider room coverage from a corner position.
%20(1).png)
Step 4.2.1
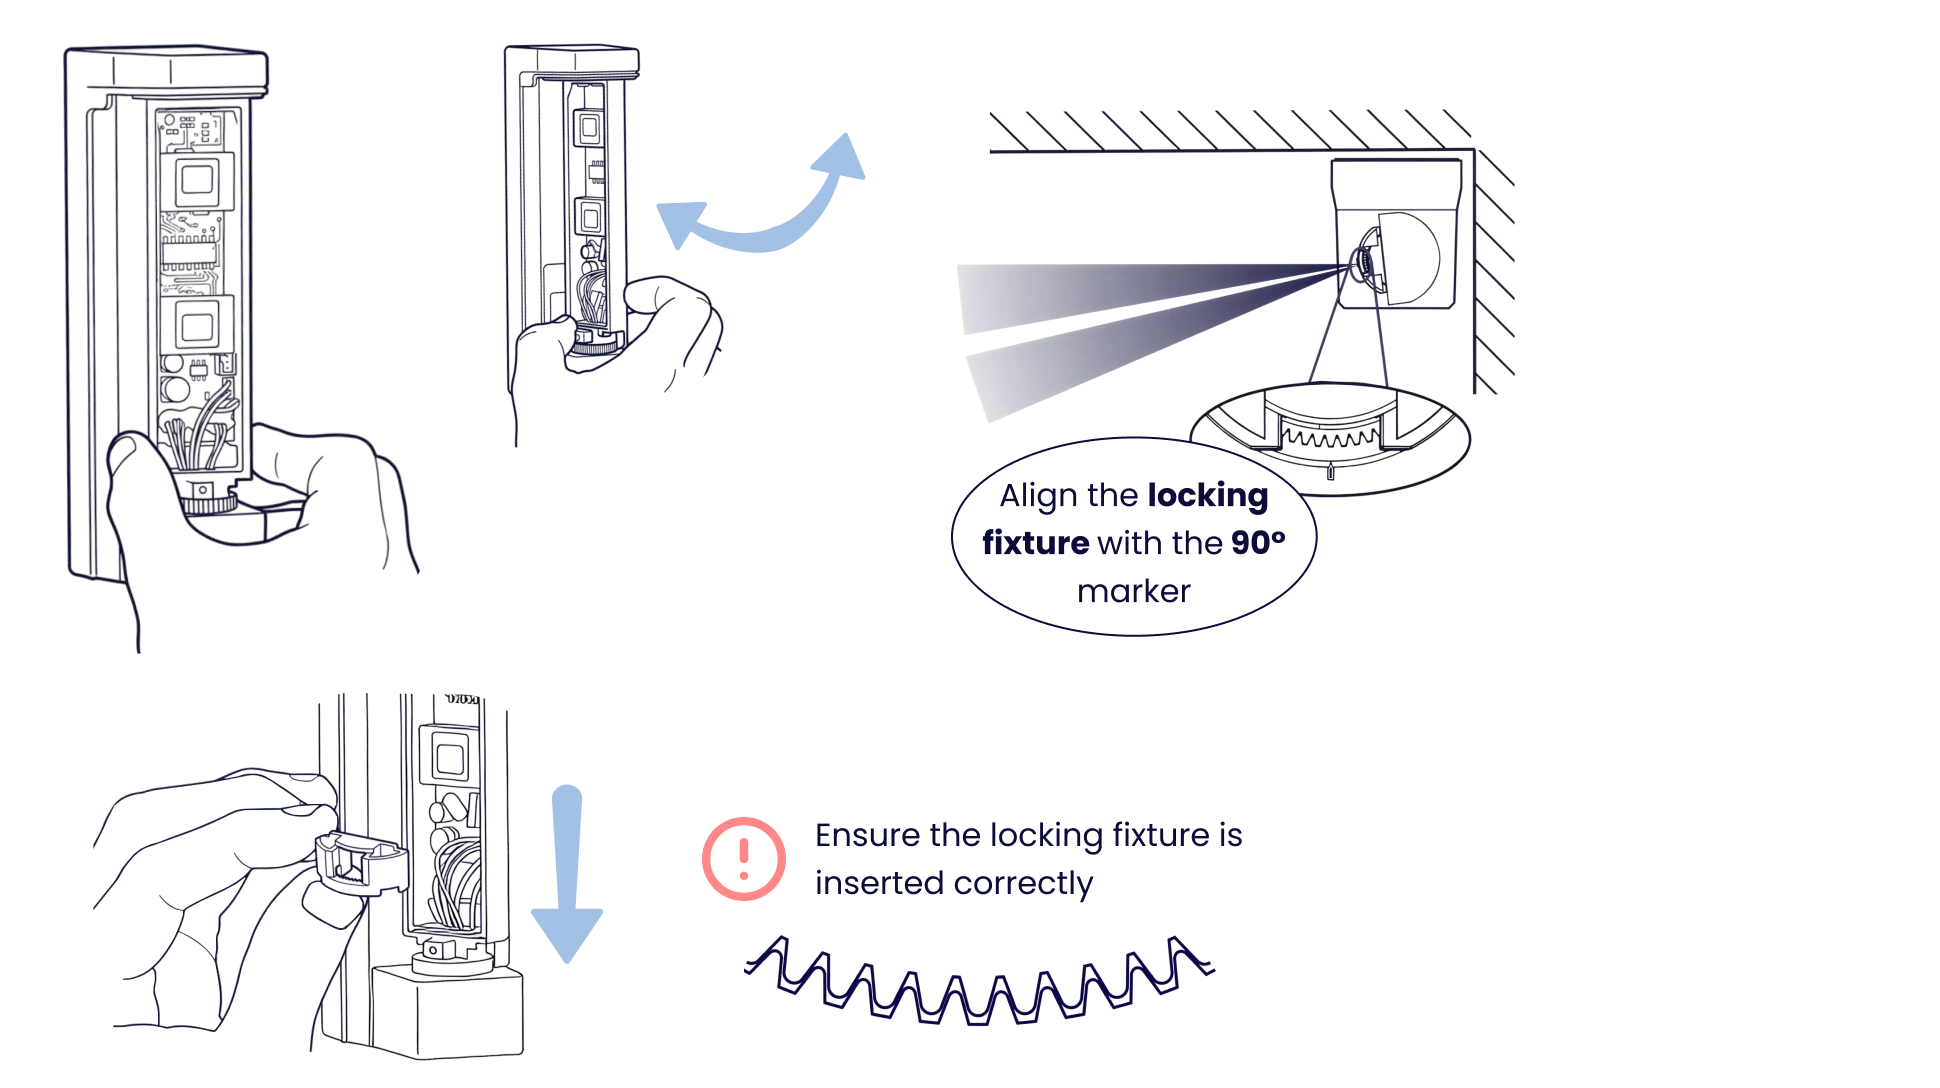
Swivel to corner position
Rotate the detection unit to align with the 90° marker, then insert the locking fixture. Ensure the fixture is inserted correctly.
Step 4.2.2
Adjust the detection range
Flip the bottom lens to adjust the detection distance to suit your environment.
Step 5
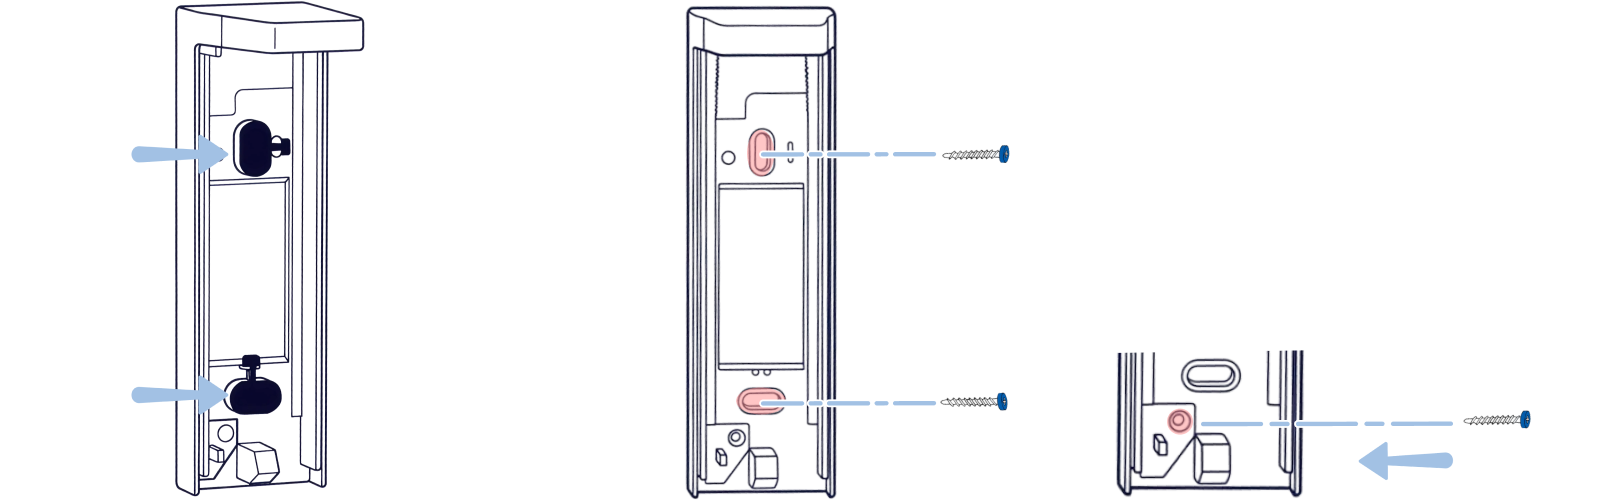
Secure the backbox
Remove the rubber grommets, then secure the backbox to the wall using suitable screws. For extra protection, secure the tamper breakout.
Step 6
Reattach the detection unit
Place the detection unit back into the mounted backbox at an angle, push it upward until it clicks into place, then secure with the locking screw.
Step 7
Close and secure
Close the front lid and insert the locking screw to secure the unit.
Tips
Tips to avoid choosing the wrong location
Avoid mounting near heat sources, vegetation, water reflections, moving objects, unstable surfaces, large wall objects, direct sunlight, or easy-to-reach areas.
%20(1).png)
Tips
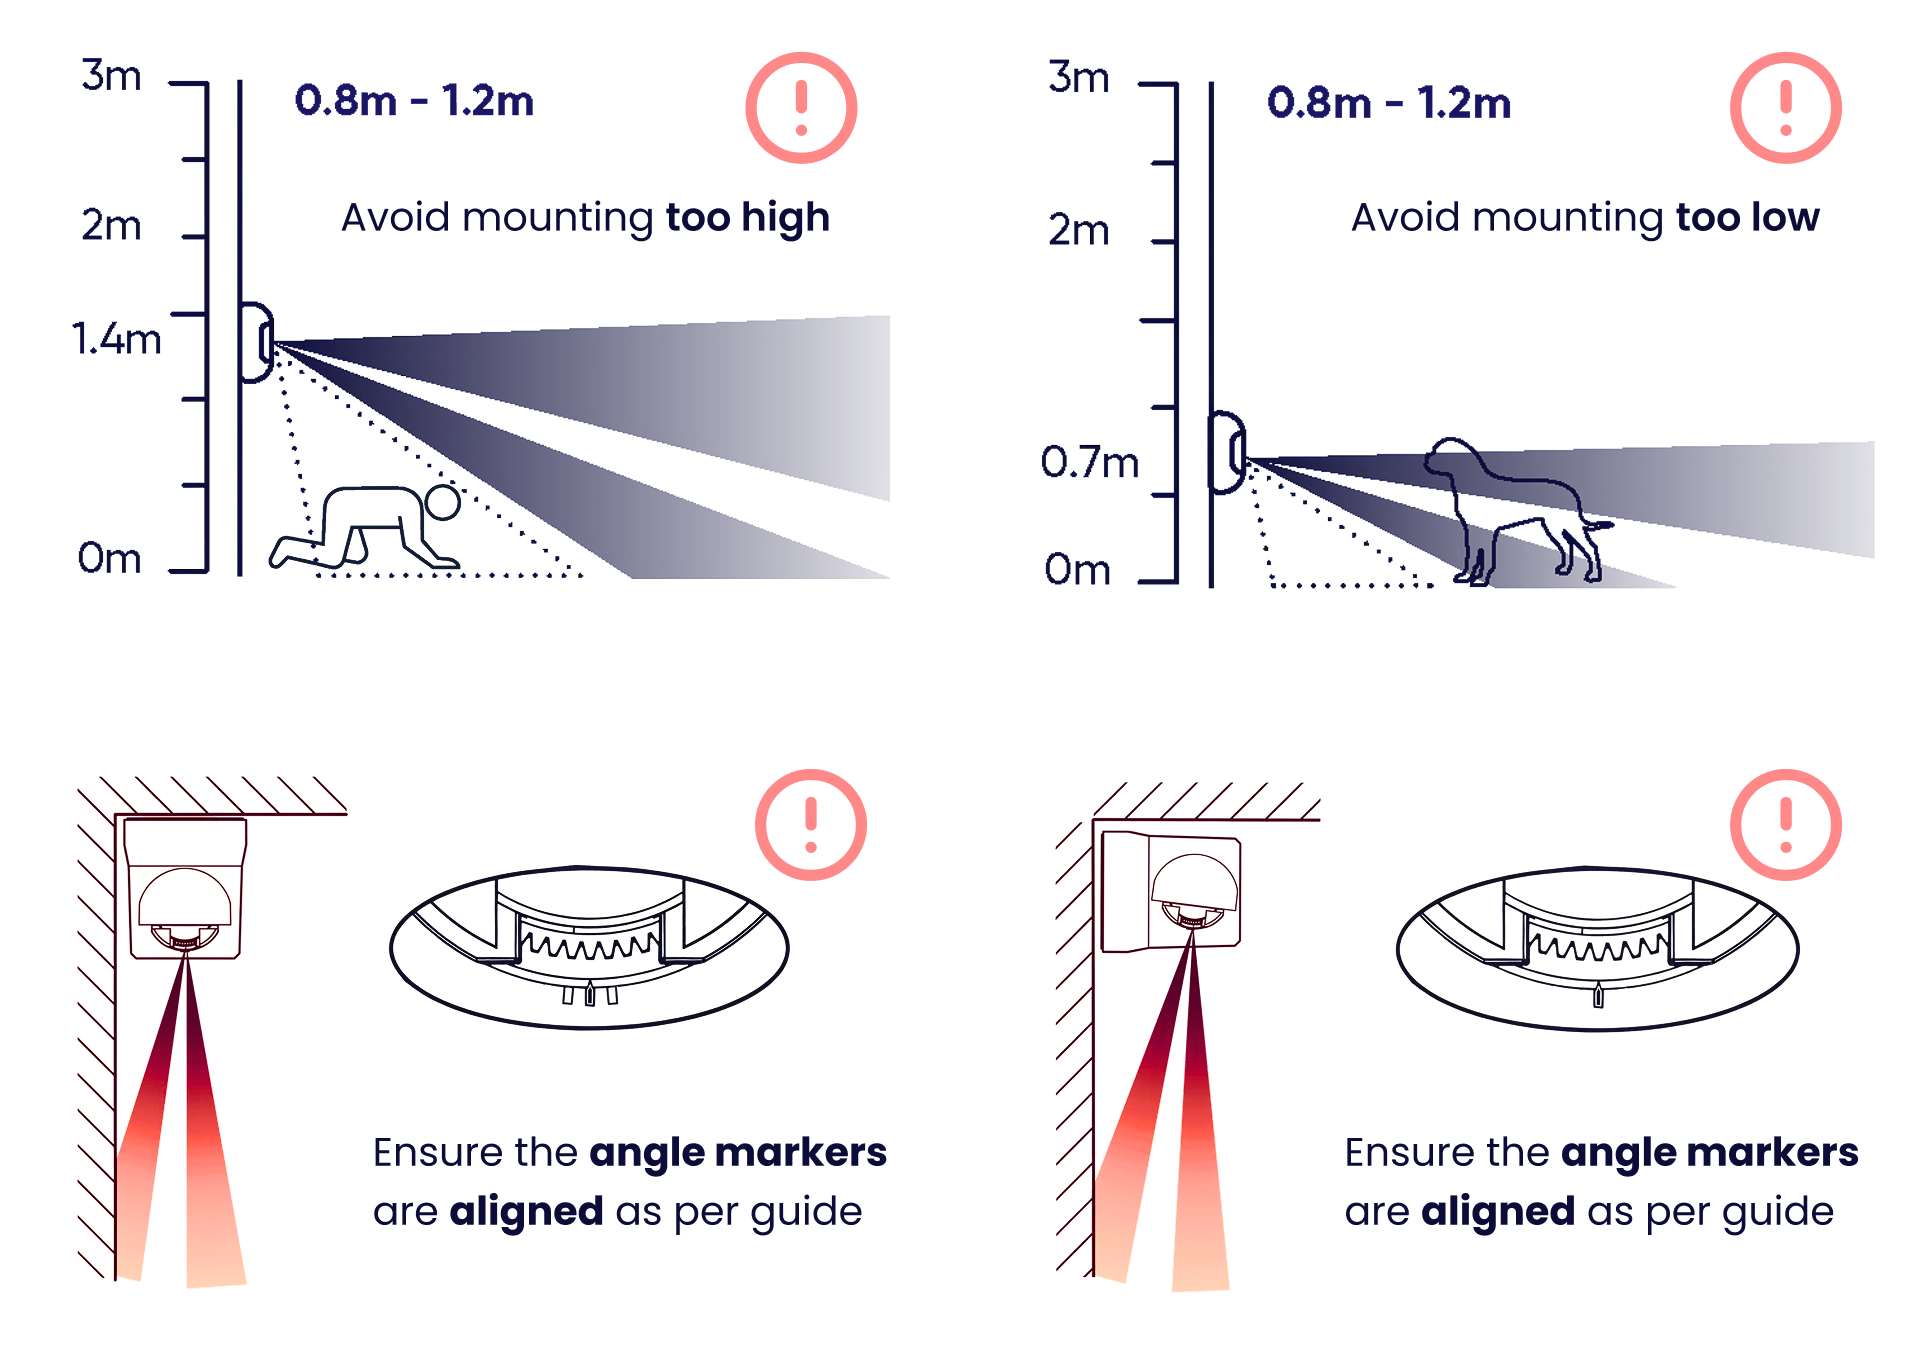
Mounting mistakes to avoid
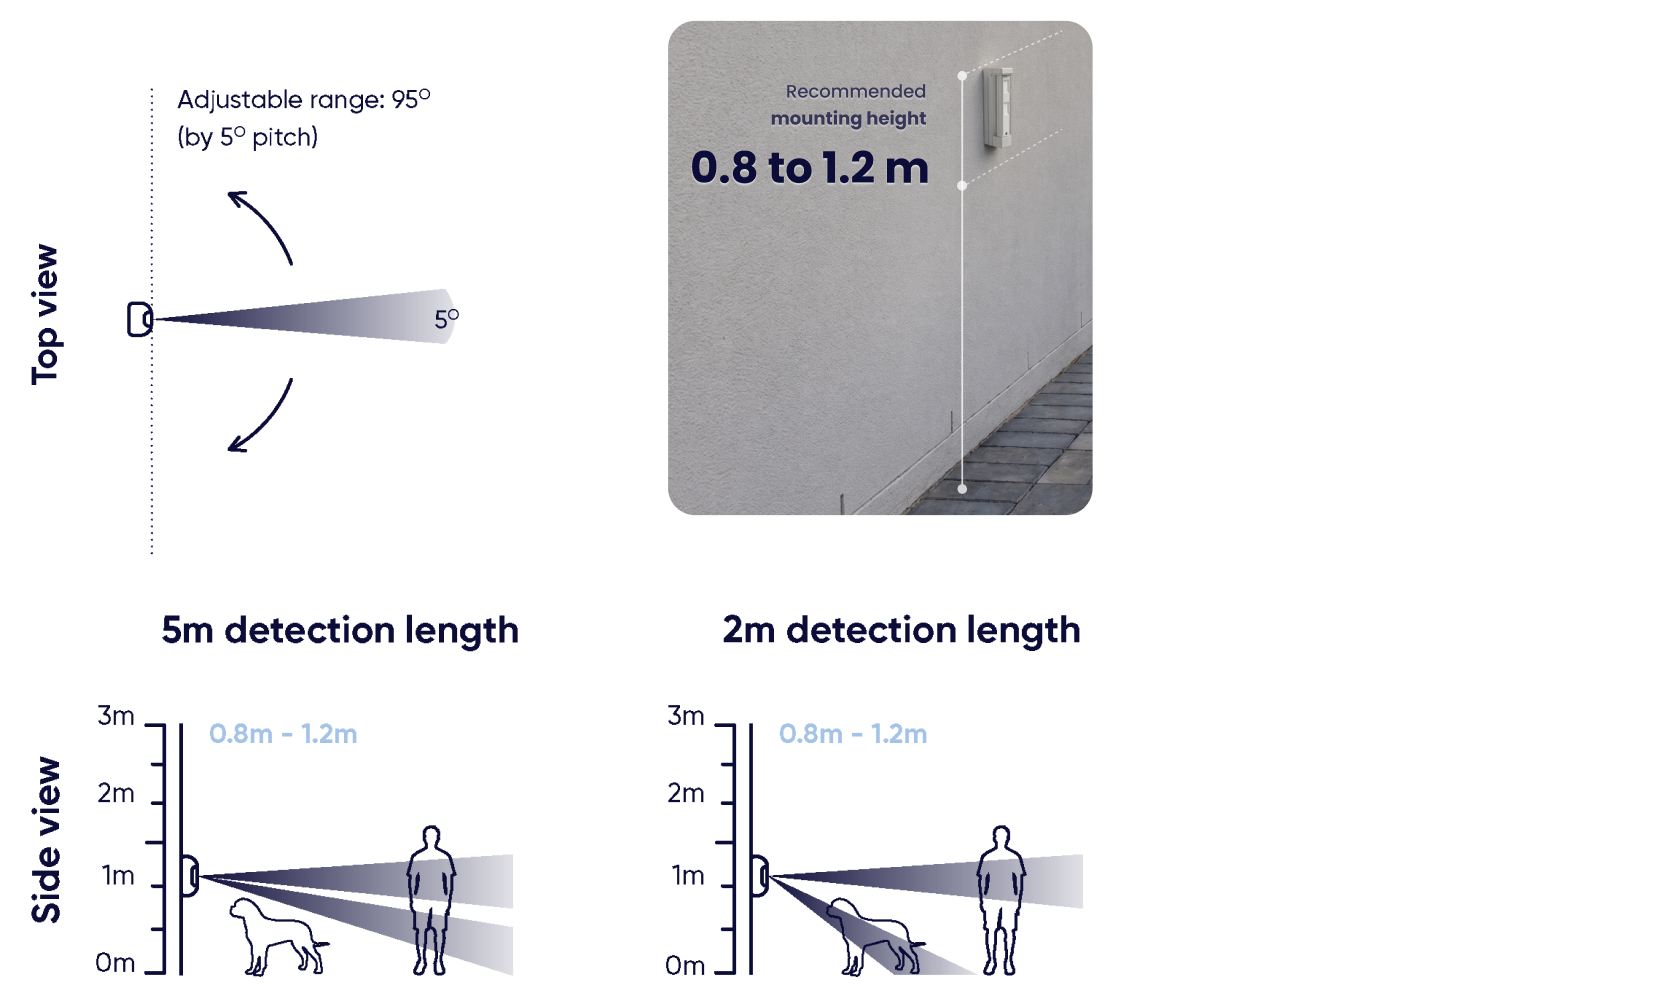
Mount between 0.8m and 1.2m from the ground.
Troubleshooting
LED status indicators
Reference the LED patterns to understand your device status:
Step 7
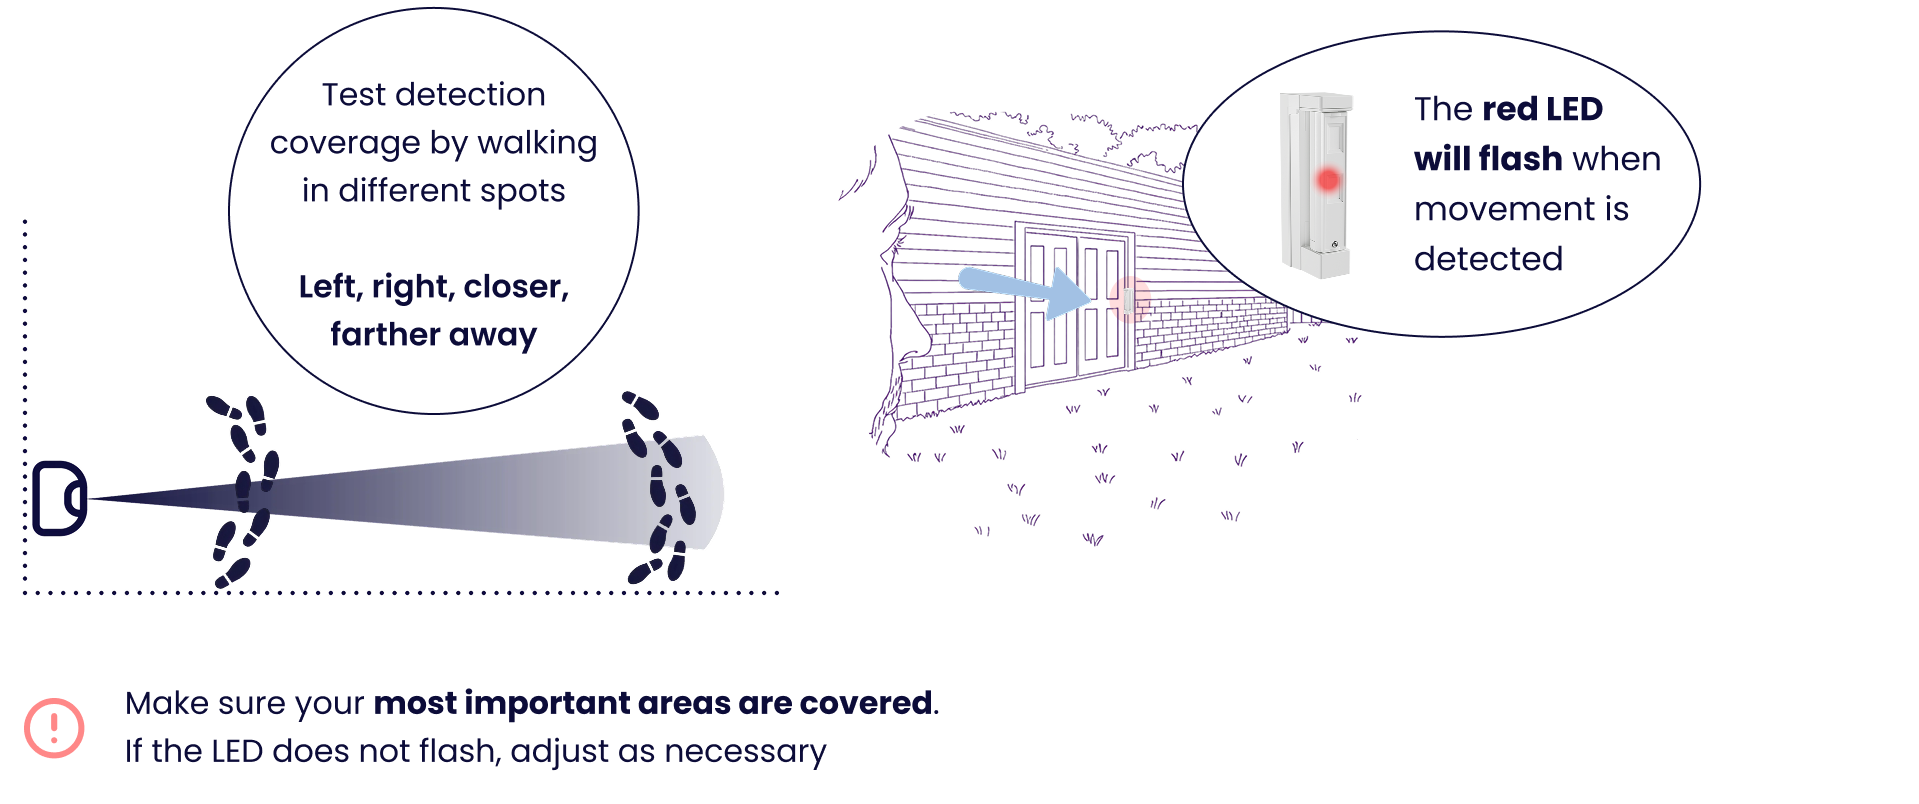
Run a detection test
Open device settings in the Olarm APP and select detection test
Walk through the detection area—left, right, closer, and farther away. The red LED will flash when movement is detected.
Ensure your most important areas are covered; if not, adjust positioning.