Smooth gradient background transitioning from dark blue at edges to bright royal blue in the center.

Your alarm system, now inside Home Assistant

Arm/disarm your system, view zone status, and trigger automations, all from your smart home dashboard.

Automate your home
Learn More

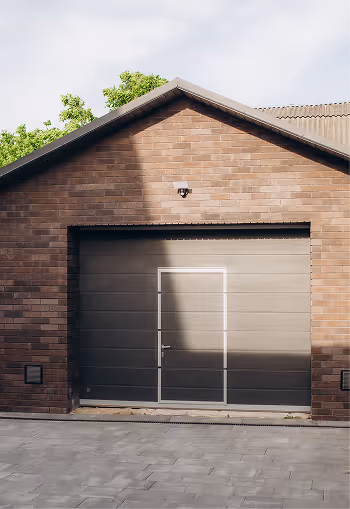
Alarm control meets smart home automation

Connect your alarm system to your smart home. View status, control arming, monitor zones, and create automations.

Goodnight routine

Home Assistant can turn off downstairs lights, lock doors, and set the thermostat to sleep mode automatically.

Alarm triggered alert

If the alarm triggers, you can flash lights red, send a push notification, and announce the alert on smart speakers.

Away mode energy saving

When the system arms in away mode, you can turn off the AC, close blinds, and power down non-essential devices.

Presence-based arming

When the last person leaves home, you can arm the alarm automatically and notify the household.

Garage door reminder

When you arm the alarm and the garage zone is still open, send a notification and delay arming until it's closed.

The building blocks for alarm-driven automations.

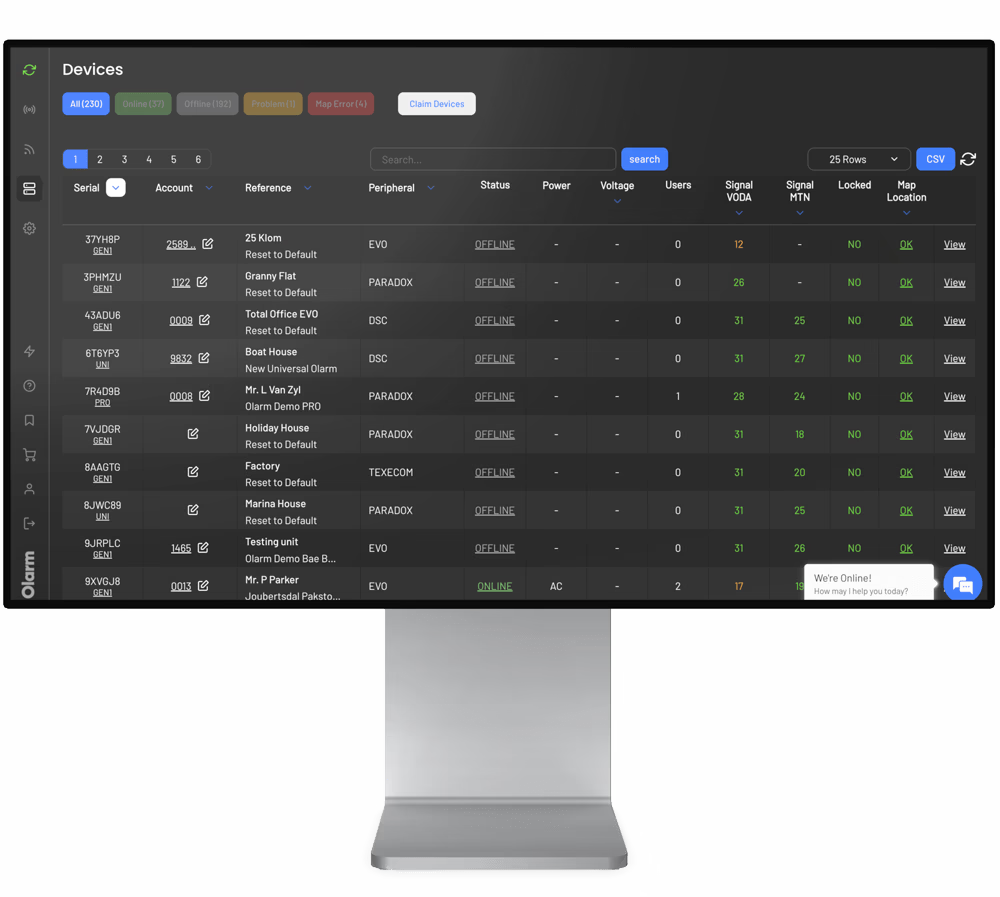
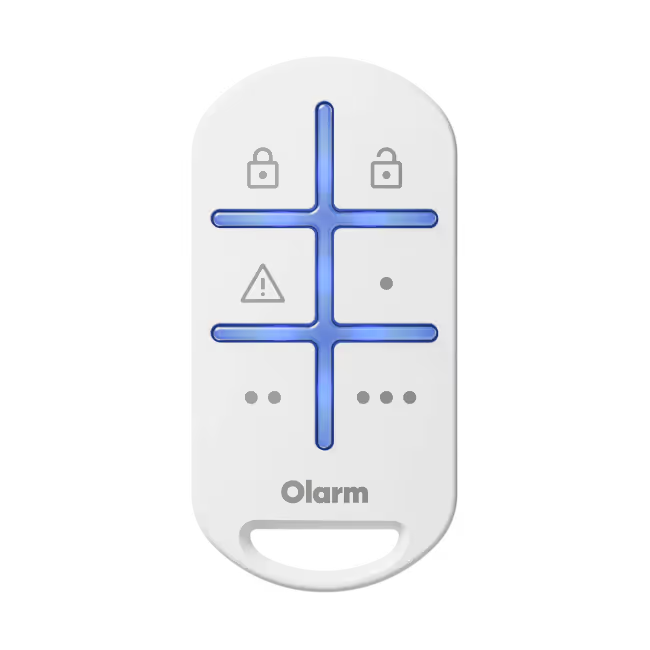
Alarm panels, zones, outputs, and I/O — all available as entities you can monitor, control, and automate.

Alarm panel entities

Each area appears as an alarm control panel. Arm to home, away, or night. Disarm. Monitor pending and triggered states. Use any state as an automation trigger.

Zone sensors

Every zone becomes a binary sensor — doors, windows, motion. See open, closed, and bypassed states. Trigger automations when a specific zone changes.

PGM outputs

Control PGM outputs directly. Open, close, or pulse — from your dashboard or through automations. Gates, garage doors, electric fences, sirens.

Utility keys

Trigger utility key functions mapped on your panel. Panic, medical, fire — available as button entities you can place anywhere or tie to automations.

LINK and MAX I/O ports

Inputs and outputs from LINK and MAX modules appear as entities. Monitor dry contacts, switch relays, and automate based on I/O state changes.

Install. Log in. Automate.

Install via HACS, log in with your Olarm account, and start automating.
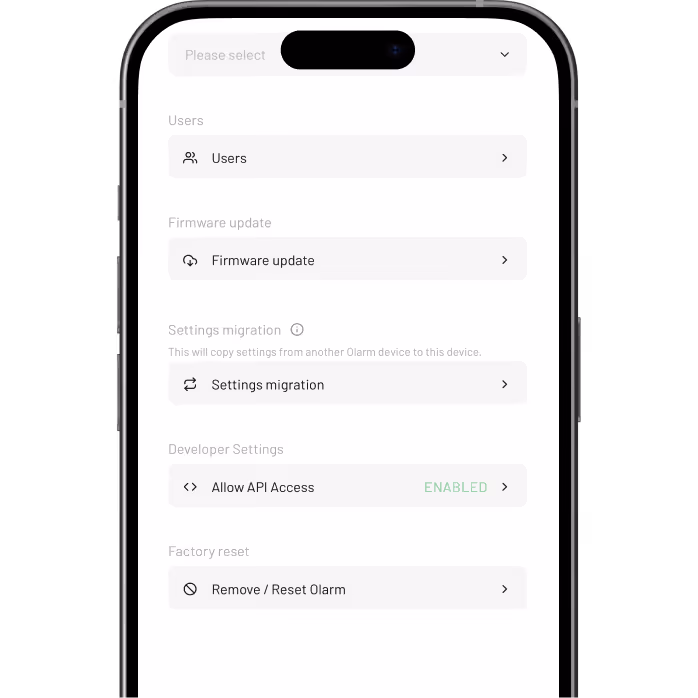
View Integration
1

Enable API access

In the Olarm APP: View Profile → Devices → Select Device→ Allow API Access.
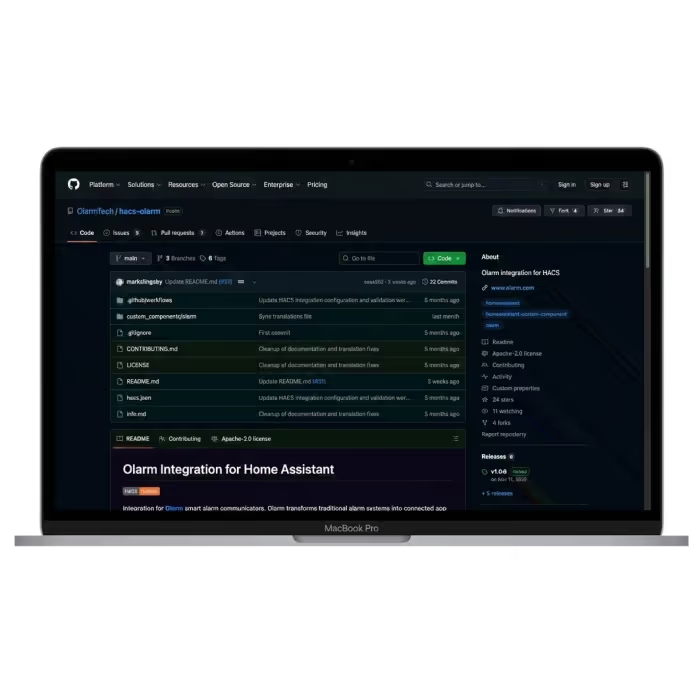
2

Install from HACS

Add the Olarm repository to HACS, install the integration, and restart Home Assistant.

3

Connect your account

Add the Olarm integration in Settings, log in via OAuth, and select your devices.

What Home Assistant users want to know

Answers to the questions we hear most.

Is this an official Home Assistant integration?

The integration is available through HACS while the official review is ongoing. It's built and maintained by Olarm, uses secure OAuth authentication, and receives regular updates.

Can I still use the Olarm APP?

Yes. The Home Assistant integration works alongside the Olarm APP. Both can be used at the same time.

How many devices can I add?

Up to 5 Olarm devices per Home Assistant instance. If you need more, contact Olarm support.

Do I need coding knowledge?

Basic familiarity with Home Assistant helps, but no coding is required. The setup uses a visual configuration flow.