


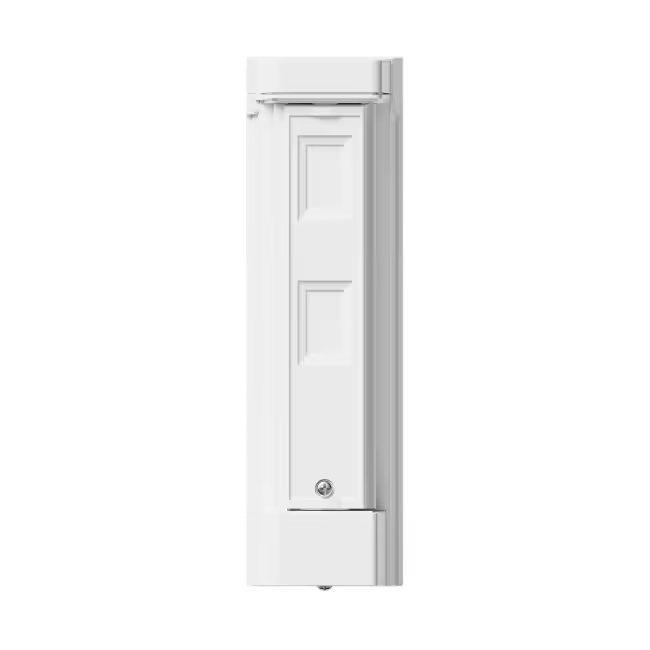


Step 1
Remove holder & back screw
Use a flathead screwdriver to unlock the lid, then remove.
.png)
Step 2 (Optional)
Add user in-app before adding device
Add the user to whom the Olarm KEY will be assigned to. Should you not add a user, the device will be assigned to the primary user.
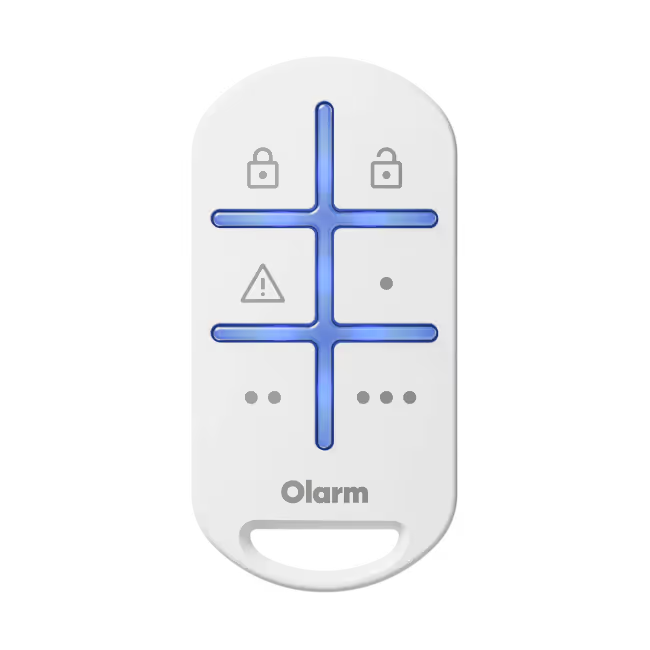
Step 3
Insert the battery
Insert the the provided CR2032 coin cell battery to power up the Olarm KEY. Ensure the battery orientation matches the symbols on the battery holder.
.png)
Step 4
Add the device & configure buttons
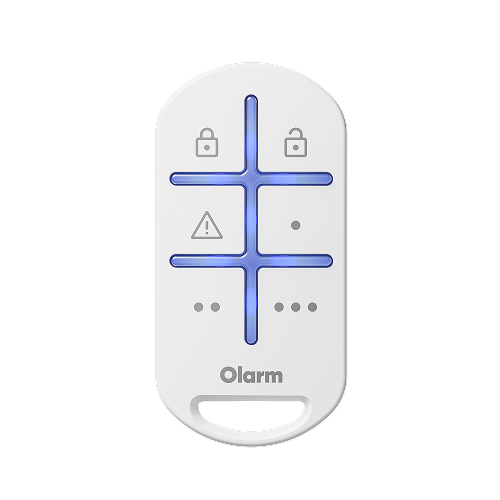
Scan the QR code on the Olarm KEY, assign the device to a user, and configure the the button functions. All 6 buttons can be configured to suit the requirements.

Step 5
Close the Olarm KEY
Reinsert the back screw to close the Olarm KEY. Ensure the cover is securely sealed.

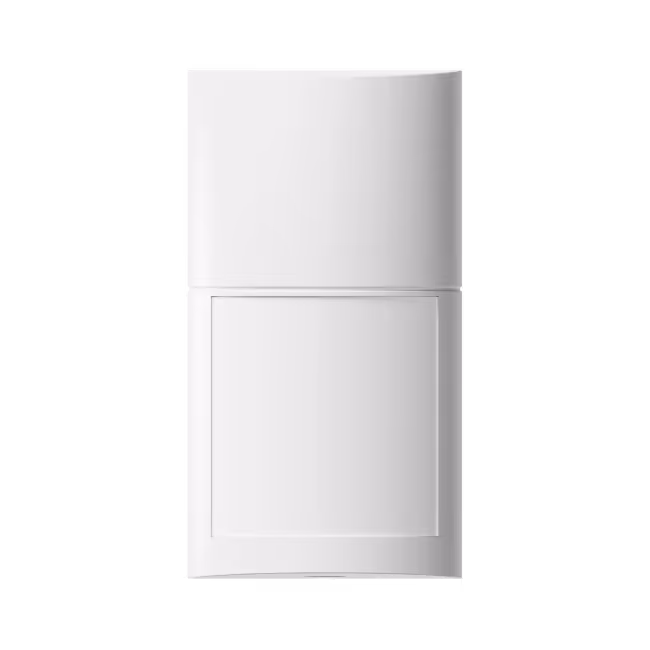
Step 6 (Optional)
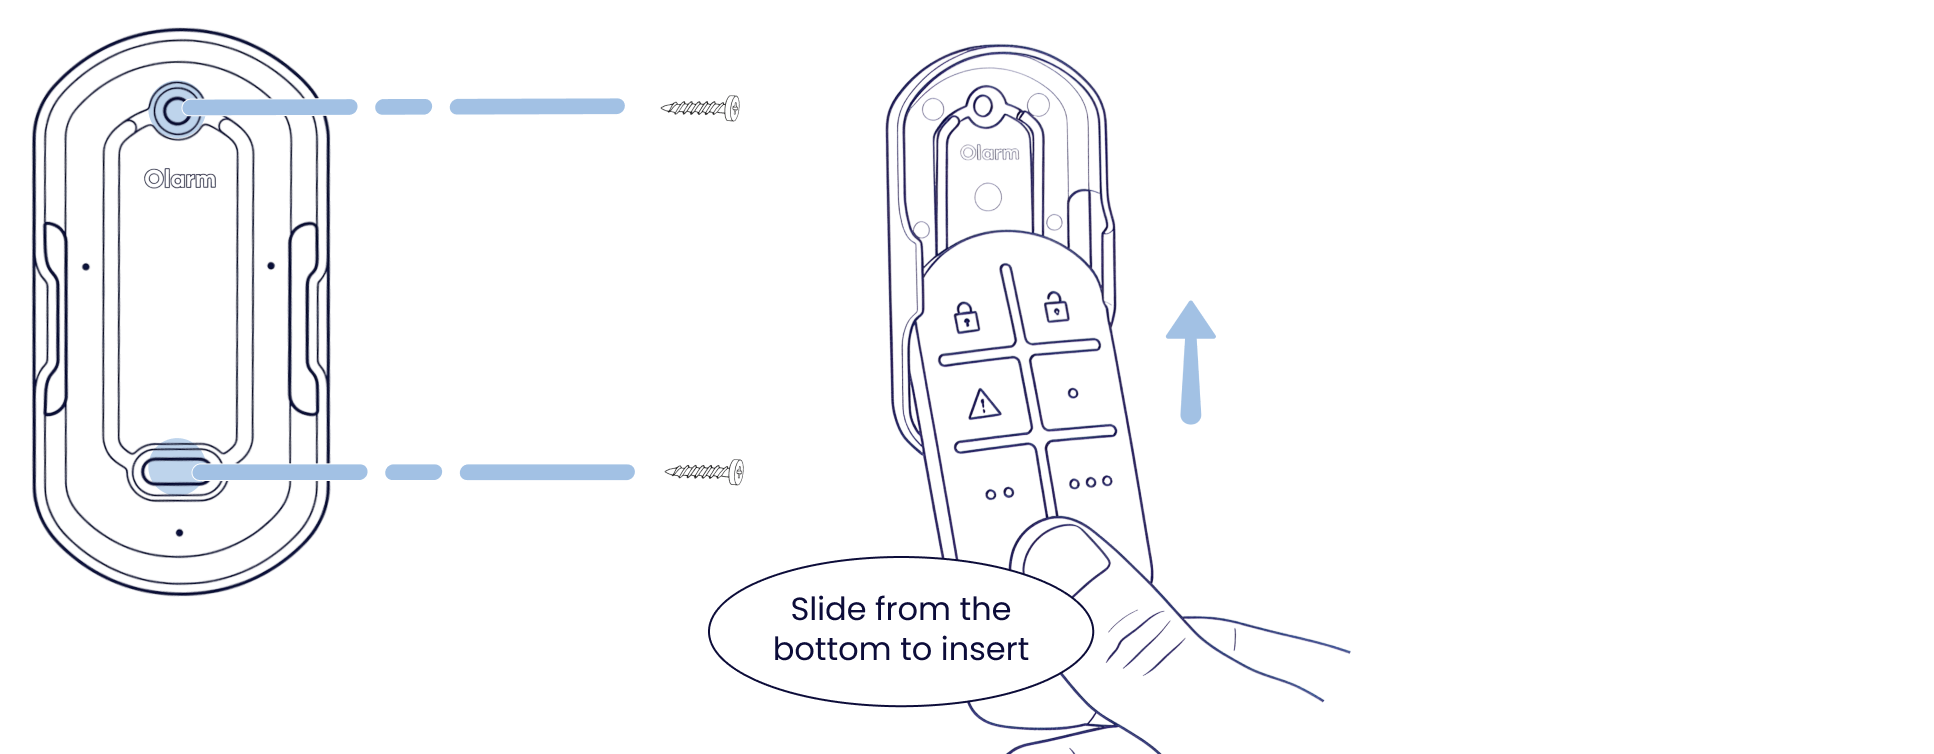
Mount the back bracket
Using the provided mounting hardware, mount the holder and secure to the desired surface with screws. Then slide the Olarm KEY from the bottom back into the holder.
Troubleshooting
LED states
Understand what each LED pattern means on your Olarm KEY.