


.png)
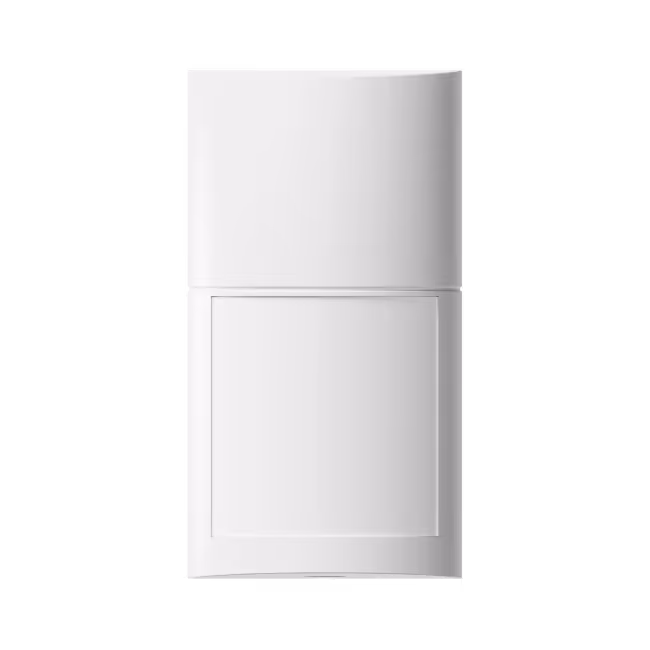
Step 1
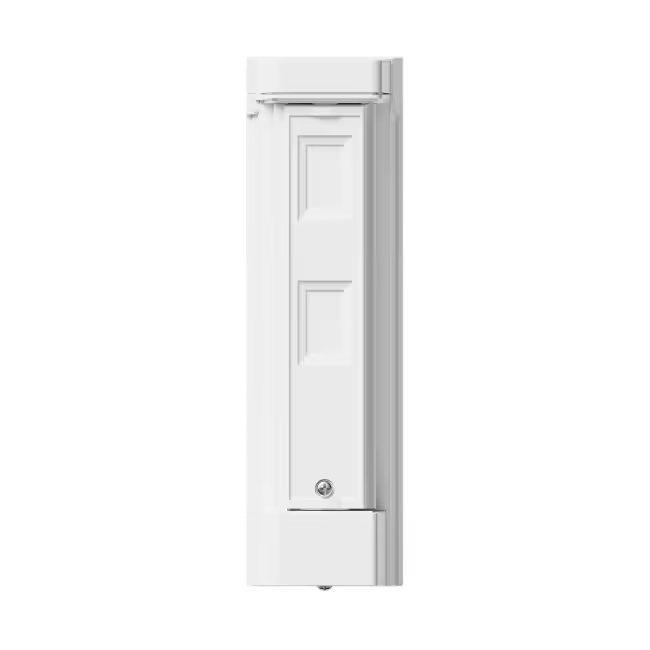
Remove the front lid
Use a flathead screwdriver to lift, leverage upwards & release the lid.

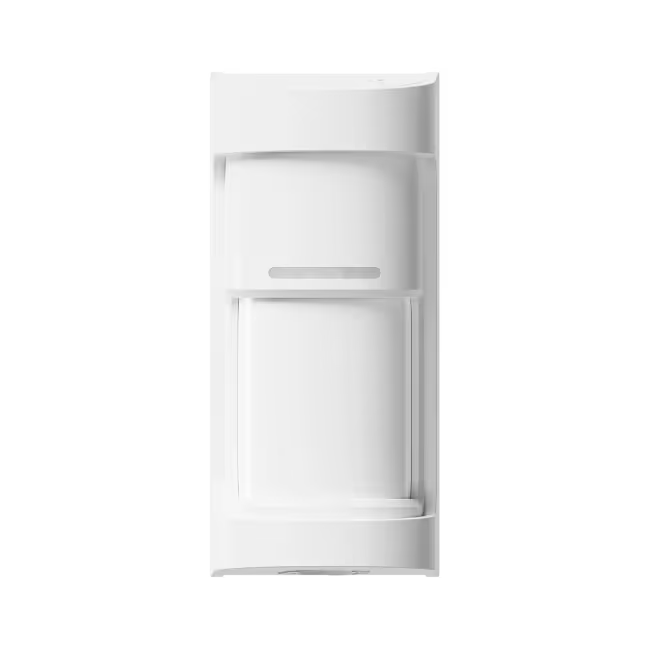
Step 2
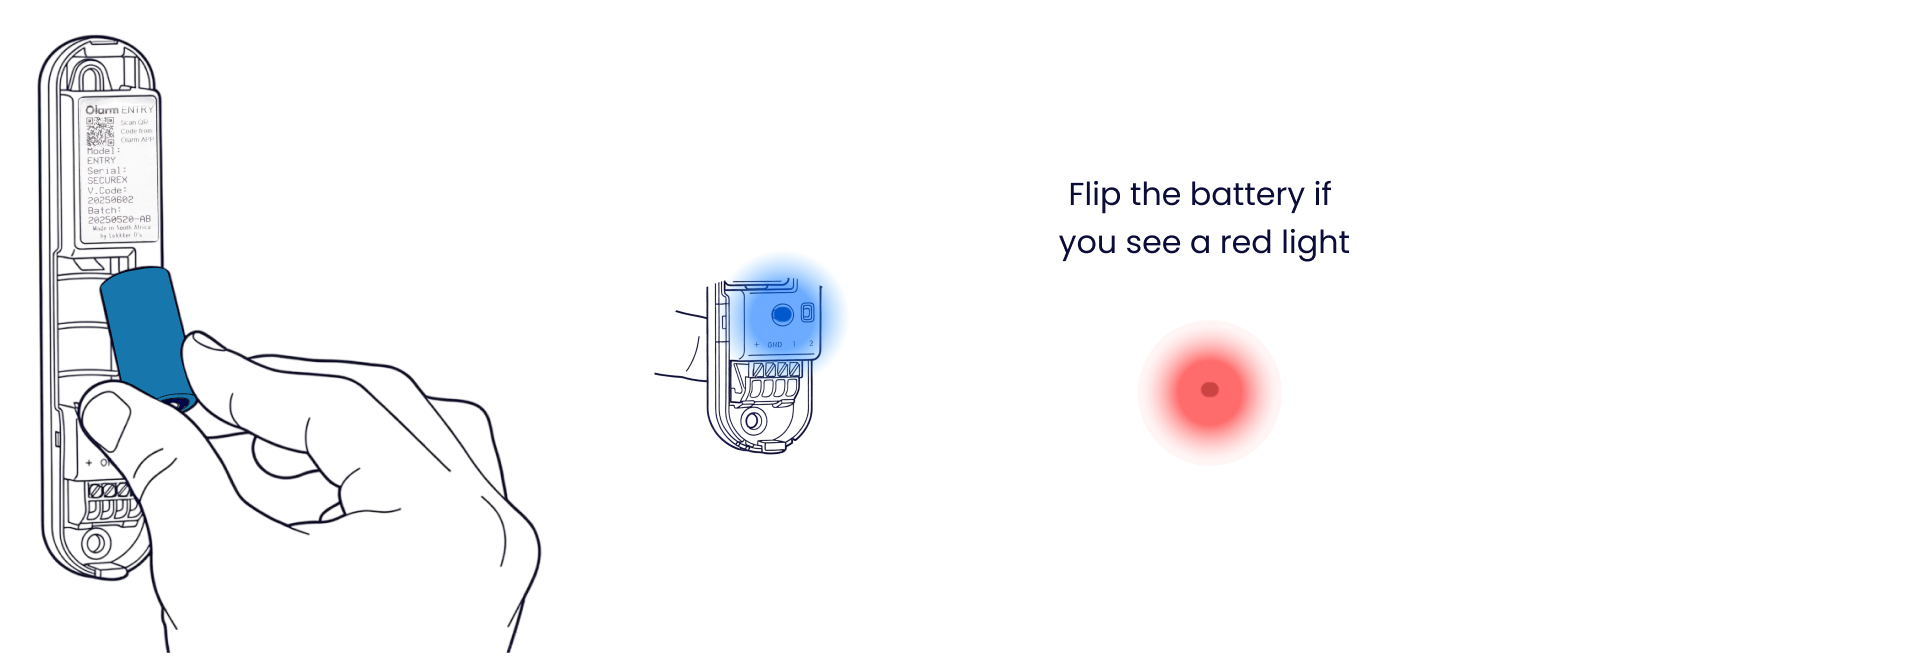
Insert the battery
Insert the the provided CR123A battery to power up the Olarm ENTRY. Ensure the battery orientation matches the symbols enclosure.
Step 3
Add your device
Scan the QR code on the Olarm ENTRY, then configure the zone & detector settings.

Step 3
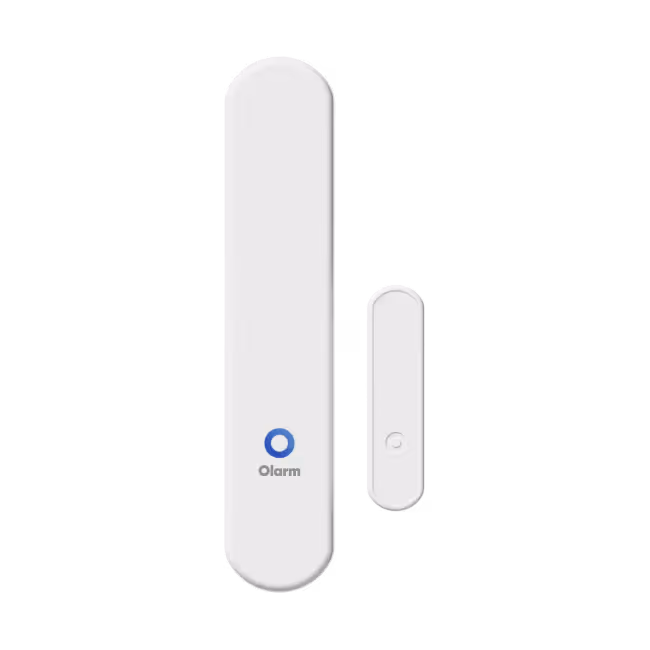
Installation of Olarm ENTRY
Most doors, windows & entry points open & close differently. The Olarm ENTRY has flexible mounting options. Follow the steps below.
Step 3.1
Alignment markers & max distance
Use the markers engraved on the sides of the enclosures to align both units for optimum detection. Never exceed 15mm distance between the main unit & magnet.

Step 3.2
Main unit to fixed frame
Where possible, ensure the main detection unit is installed on the fixed frame. Alternatively, install on surface that moves less & does not go outside. Install the magnet on the moving frame.

Step 3.3
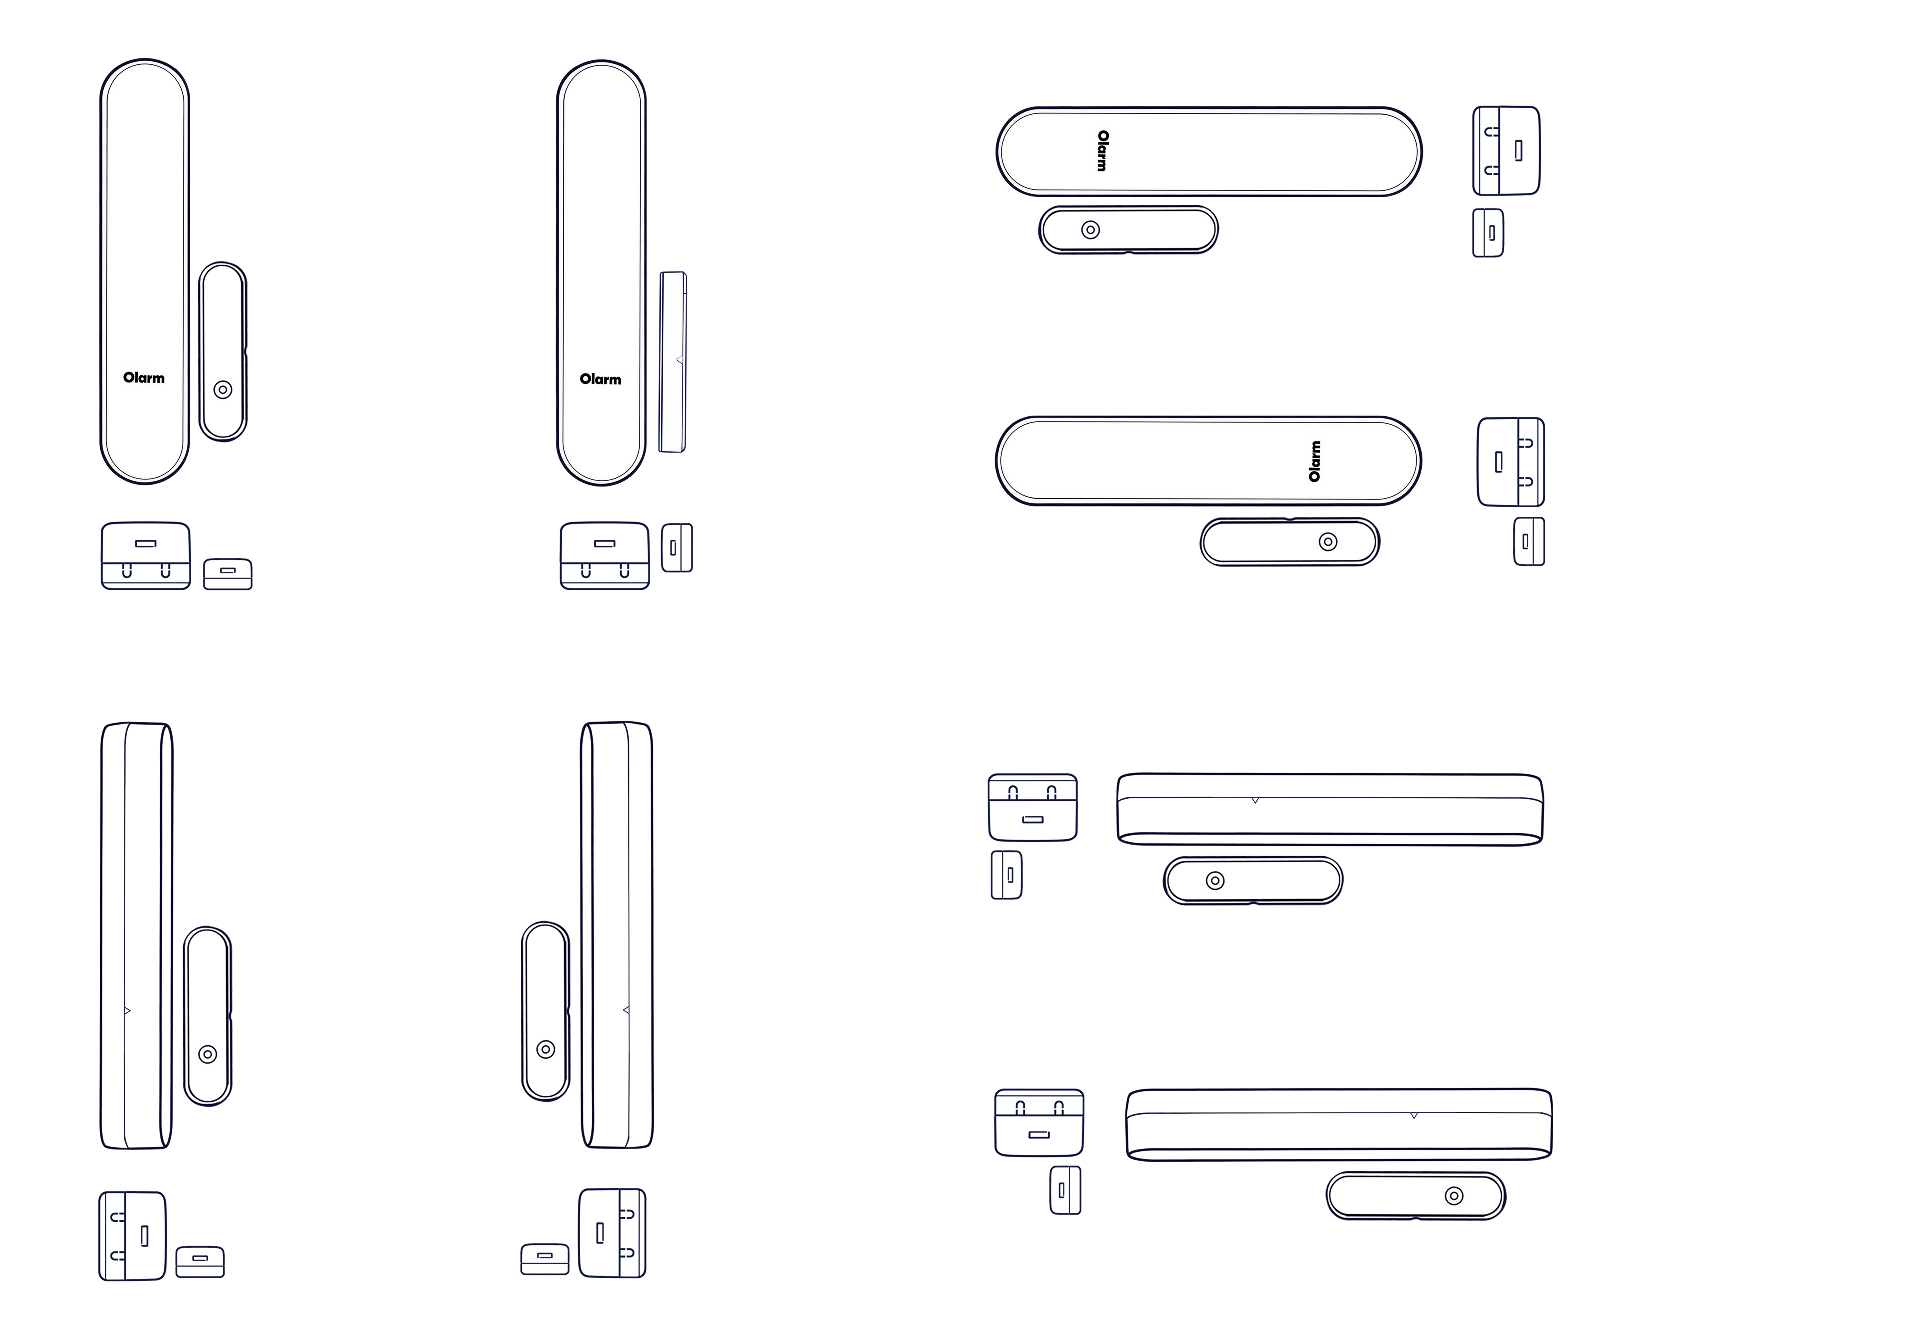
Orientation examples
See the the visuals below to understand the various positioning and installation orientations.
Step 4
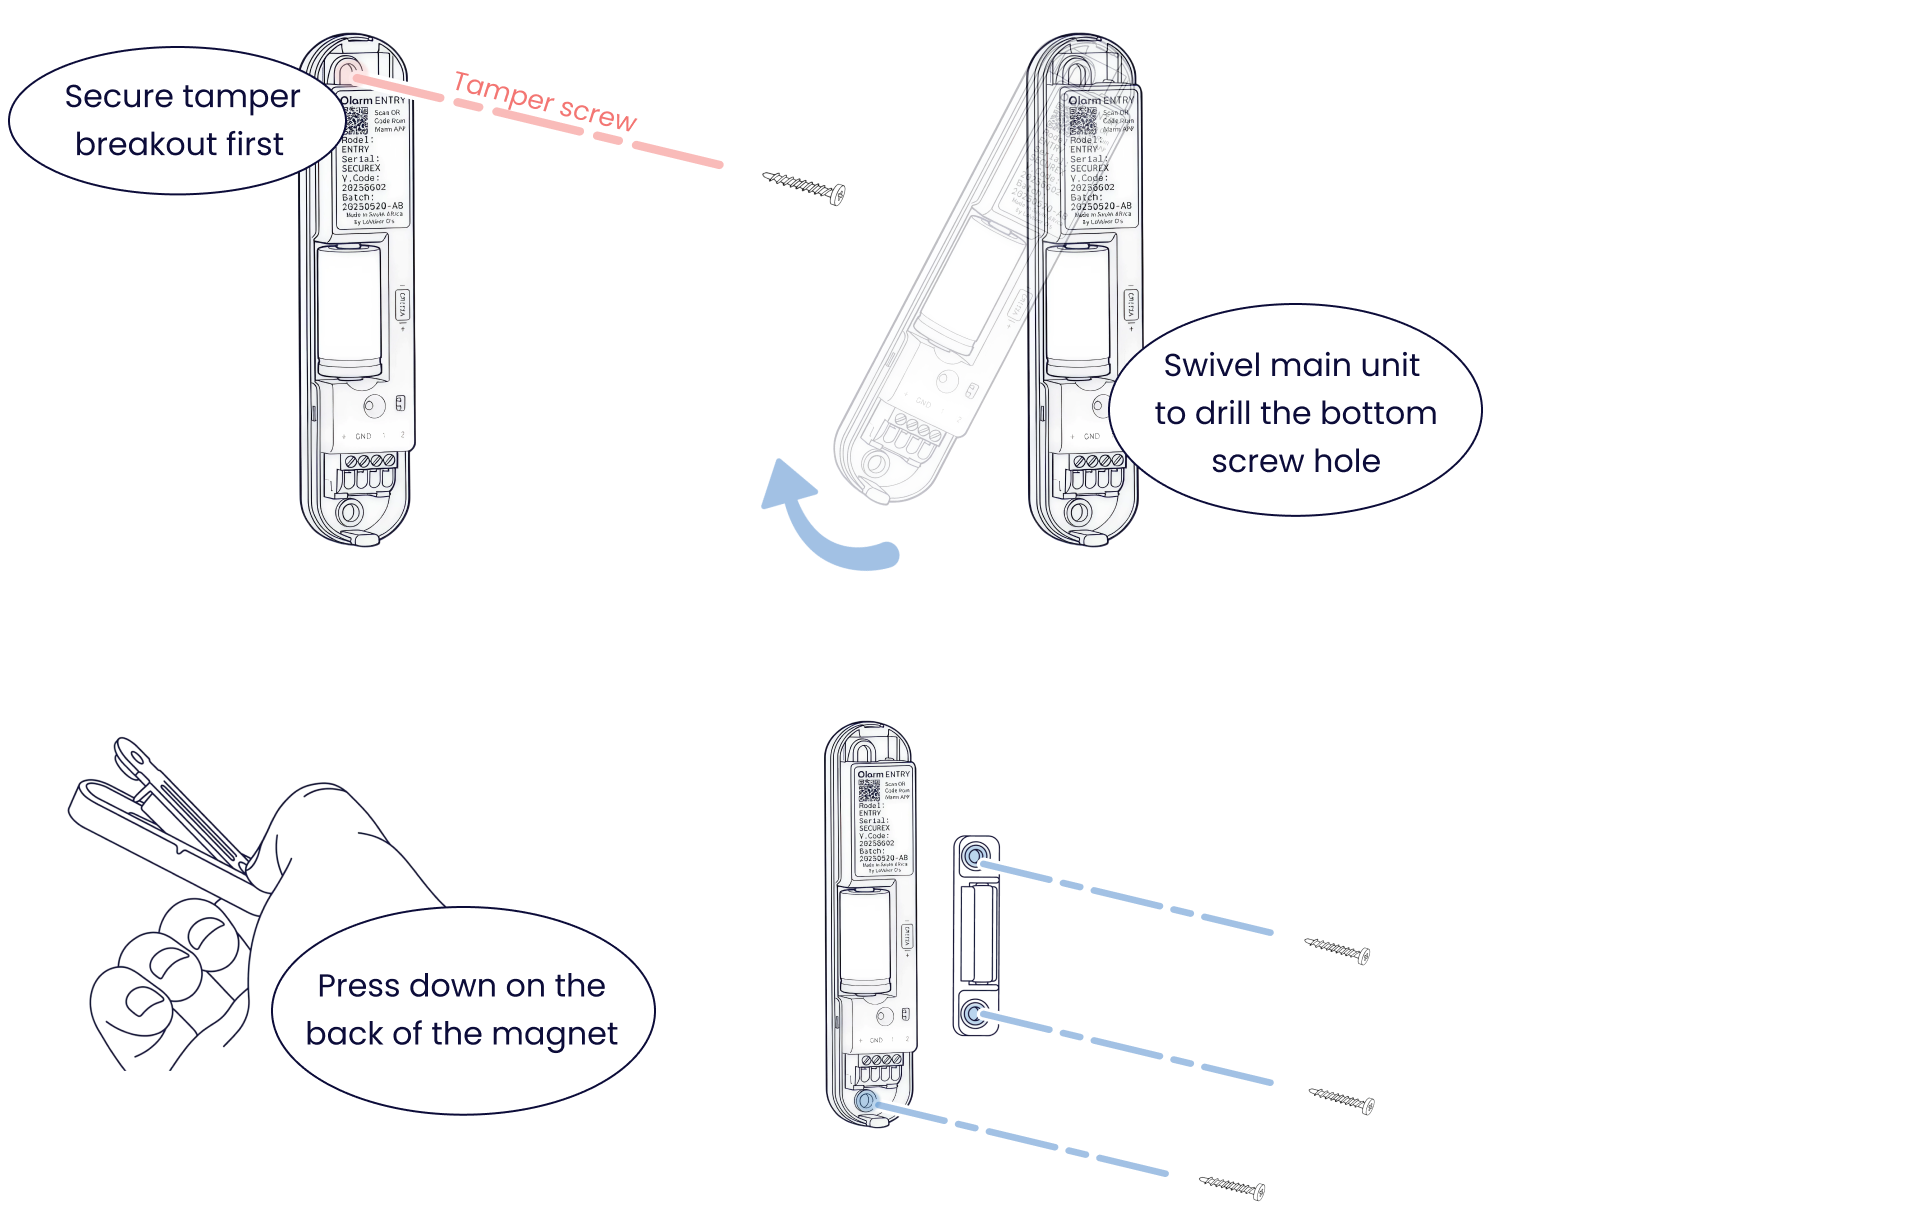
Mount the Olarm ENTRY
Secure the Olarm ENTRY main unit & magnet to their respective surfaces using the mounting hardware provided. Remember that adhesive withers over time and will jeopardise the devices functionality.
Step 5
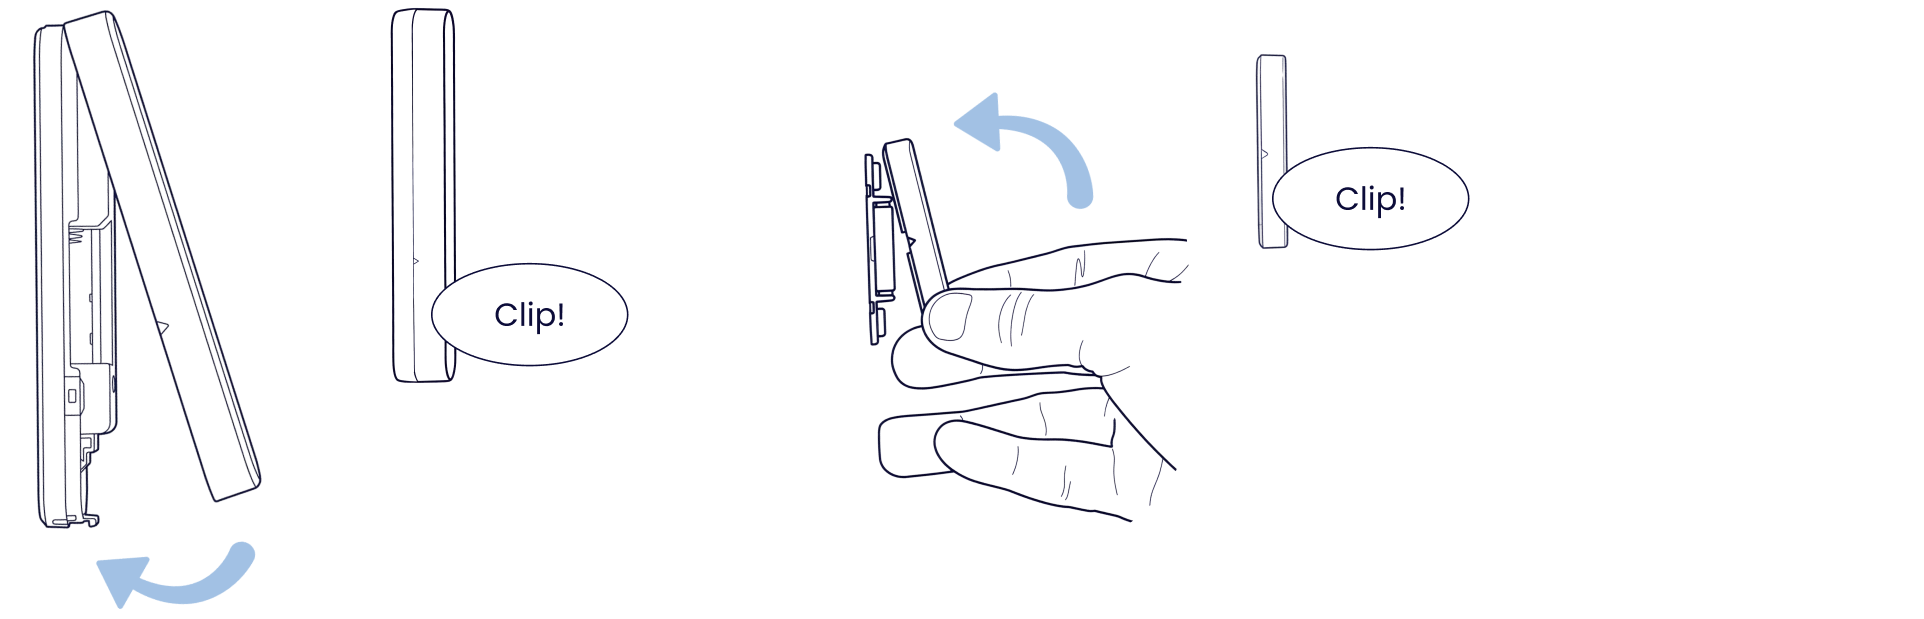
Close the device
Clip the front lid back onto the main unit & magnet. Ensure both lids of the Olarm ENTRY are clipped securely.
Step 6
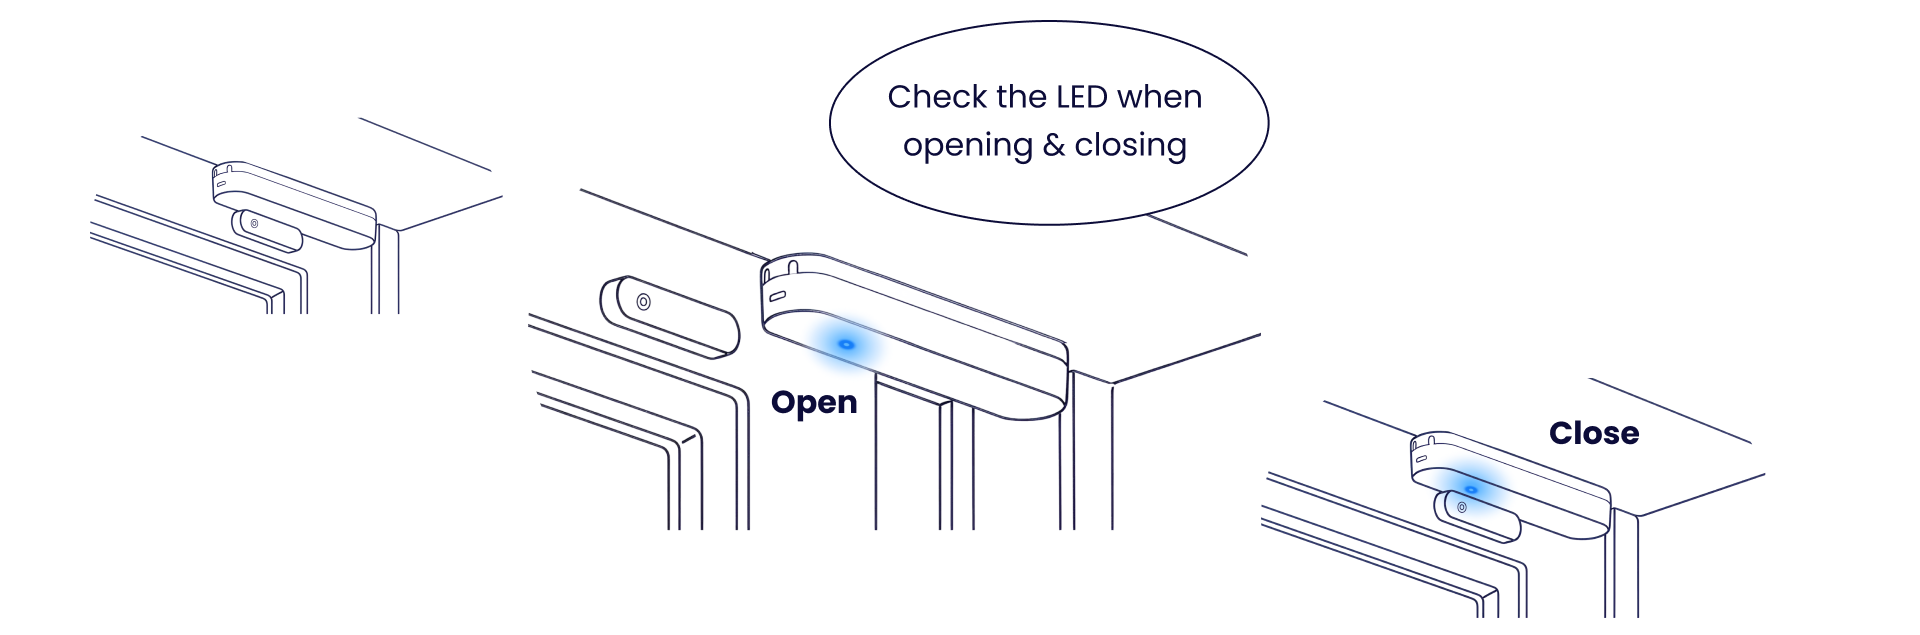
Test the open/close behaviour
Actively open/close the entry point to test your device to ensure it is installed adequately. The LED indicator will flash blue when opening/closing is detected.
Step 7
LED states
Understand what each LED pattern means on your Olarm ENTRY.

Tips
What to avoid when installing
Avoid mounting mounting; on unstable surfaces, on direct steel contact, in outdoor environments, near strong magnetic sources, using adhesives, near hinges or easy to reach positions.

Tips
Mounting mistakes to avoid
Ensure both units are as parallel with each other as possible, as well as ensure the alignment markers are used. Do not exceed the 15mm distance allowed.