


.png)
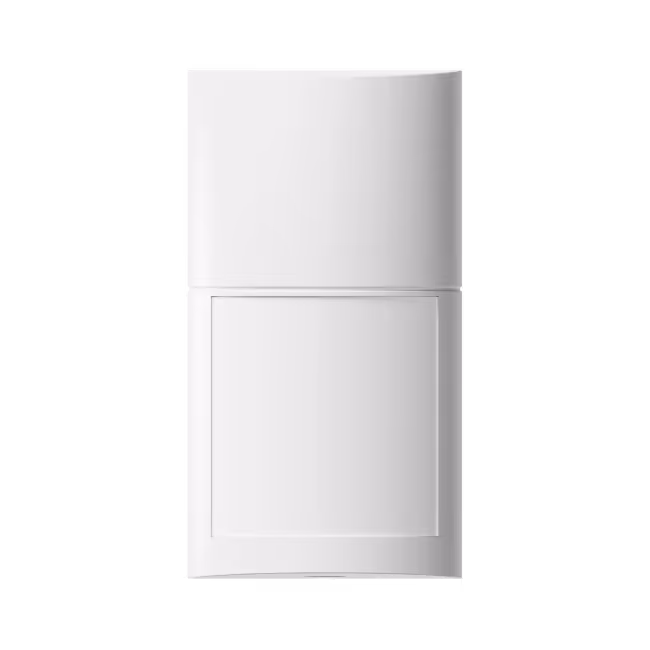
Step 1
Remove the front lid
Use a flathead screwdriver to release the locking screw and lift off the lid.
.png)
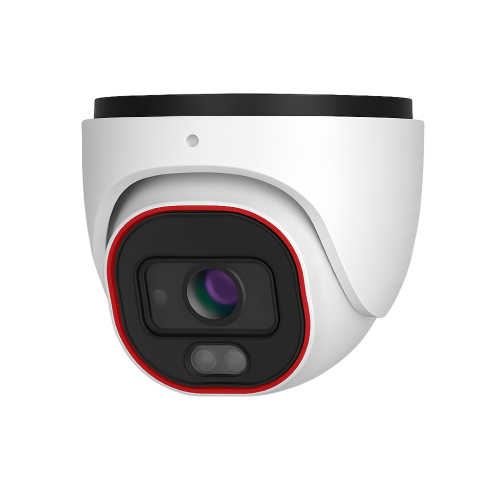
Step 2
Remove the detection unit
Release the clips and lift out the detection unit to access the Olarm CONNECT.

Step 3
Add your device & configure zone
Scan the QR code on the Olarm CONNECT to add the device, then configure your zone and detector settings.
Step 4
Insert the batteries
Place the batteries into the Olarm CONNECT. The status LED will flash blue when powered on correctly.

Step 5 (Option A)
Mount the Olarm 90XS directly to the surface
Use this option when mounting directly to a wall or flat surface.
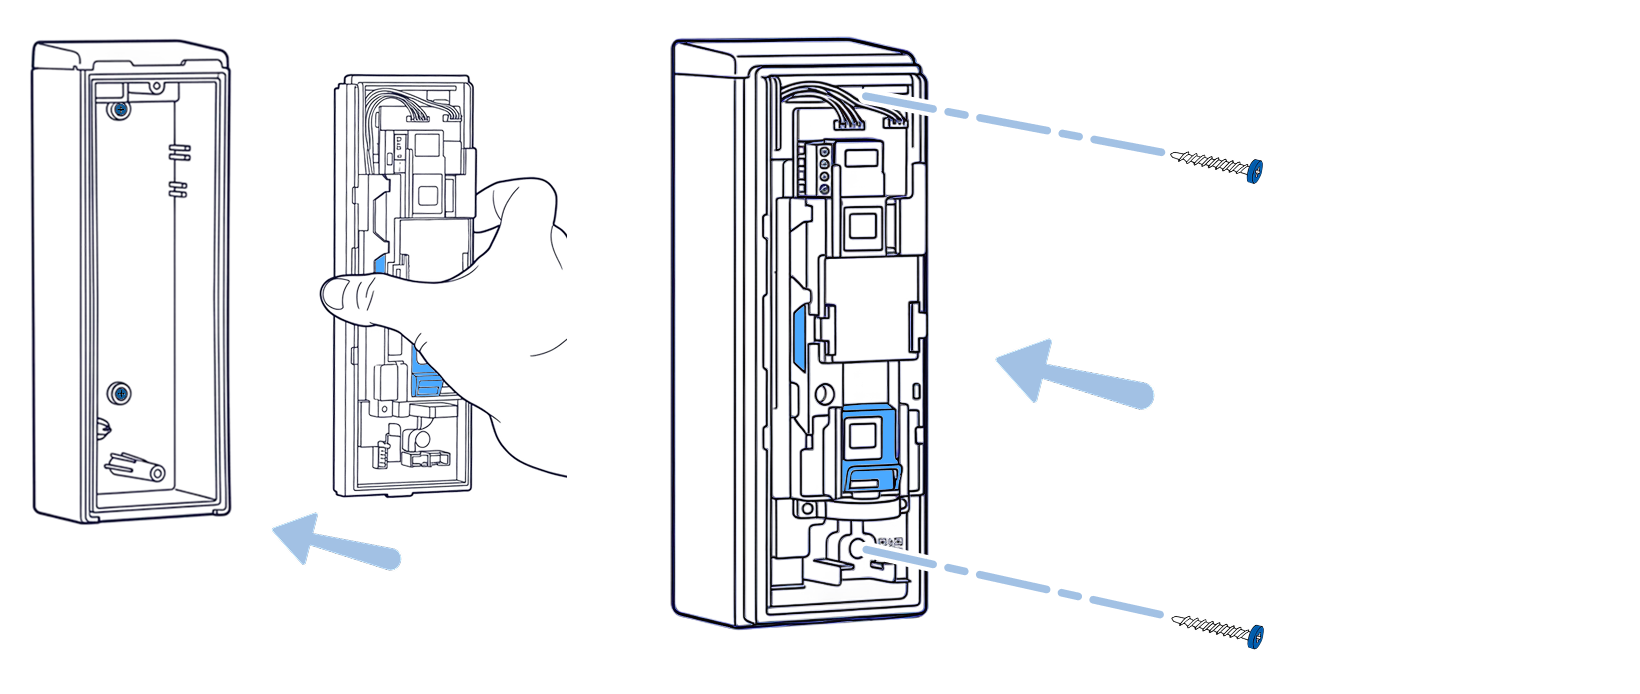
Step 5.1a
Remove the backbox
Separate the backbox from the mounting plate.

Step 5.2a
Secure the mounting plate
Fasten with suitable screws, ensuring the tamper switch is compressed. Use the built-in level for alignment.
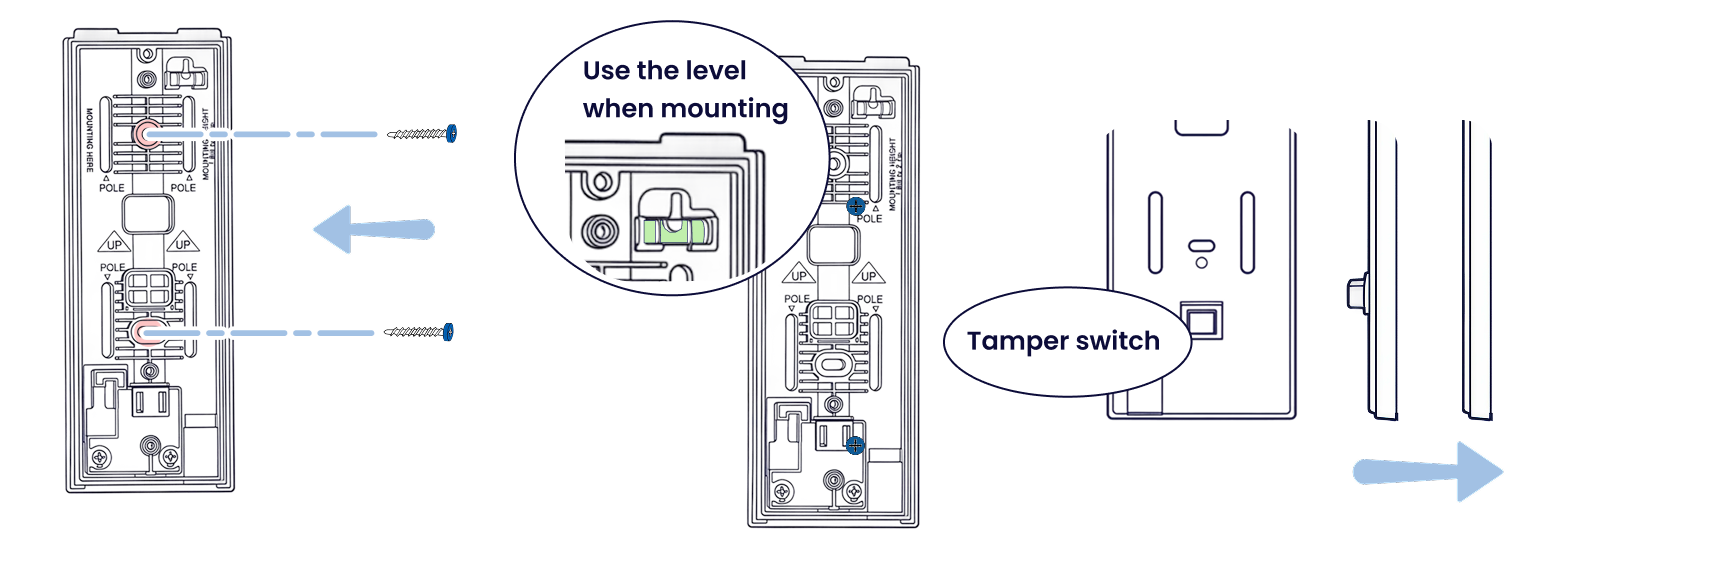
Step 5.3a
Reconnect the backbox
Attach the backbox to the mounting plate using the original screws.

Step 5.4a
Re-insert the detection unit
Slide the detection unit and Olarm CONNECT back into the backbox and secure with screws.
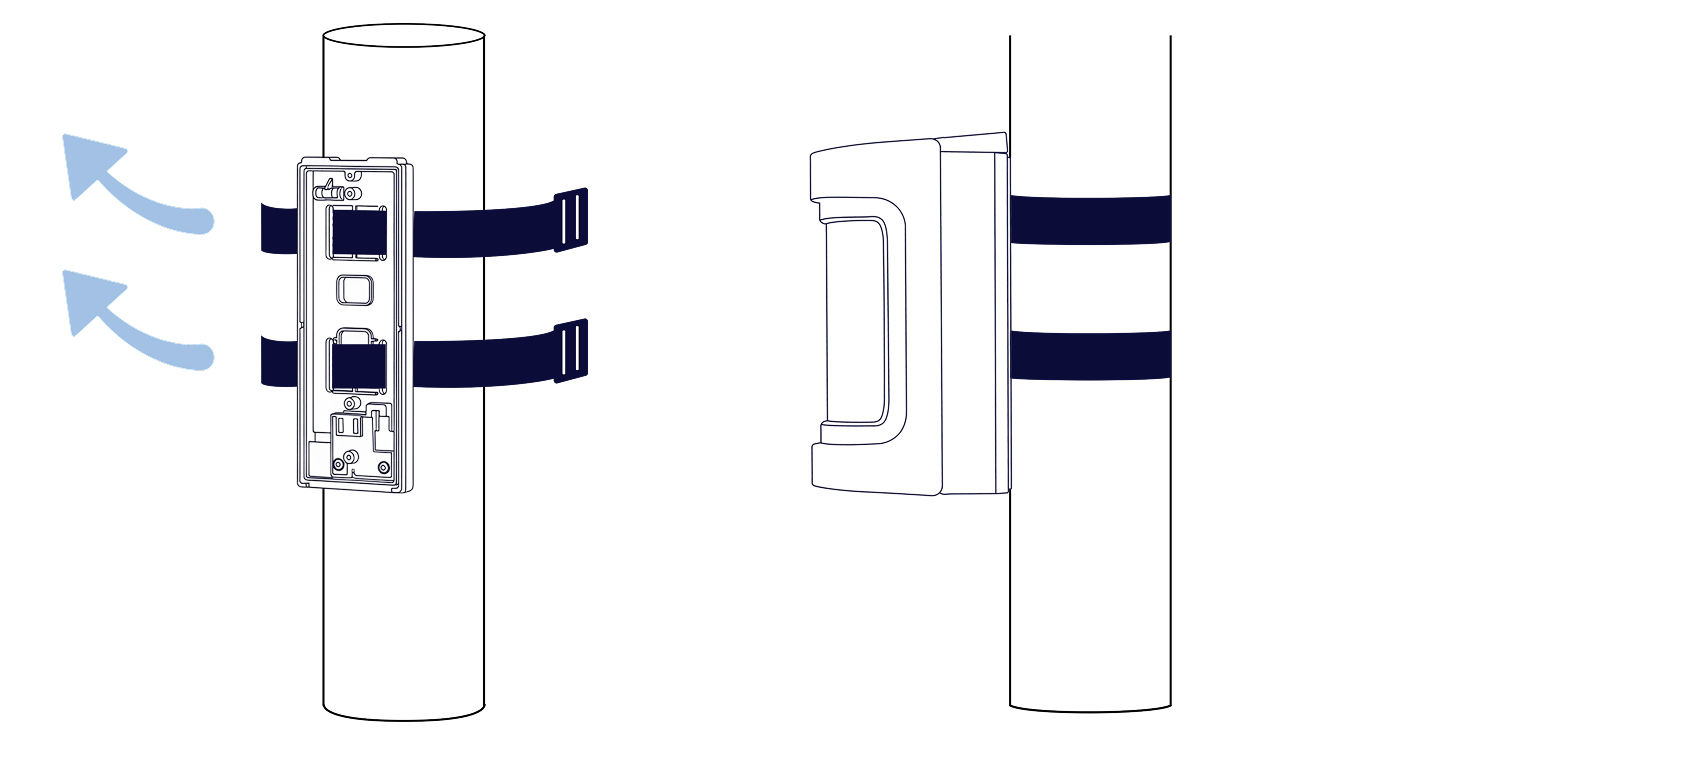
Step 5 (Option B)
Mount the Olarm 90XS to a pole
Use this option when wall mounting isn't available.
Step 5.1b
Secure with metal strips
Feed the metal strips through the pole mount slots and tighten to secure.
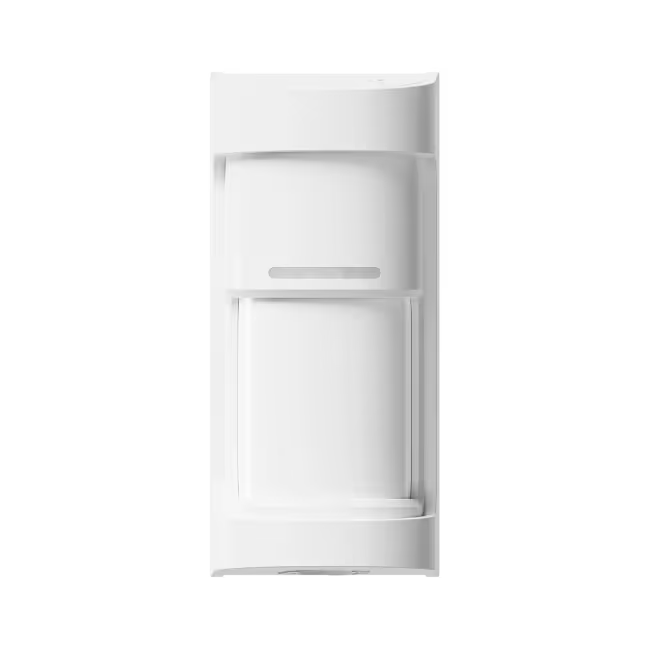
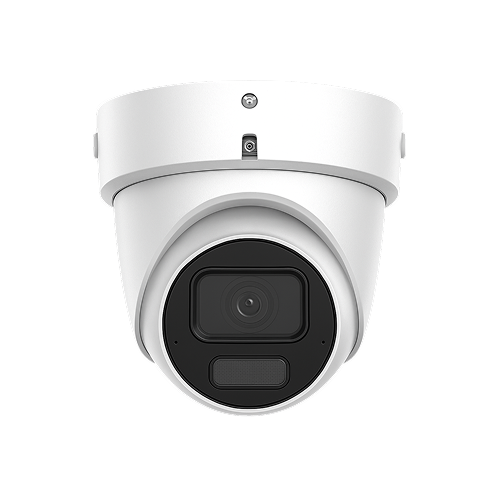
Step 6
Installing the Olarm 90XS
.png)
Step 6.1
Adjust the detection angle
Swivel the detection unit left or right to set your desired coverage angle.

Step 6.2
Adjust the detection distance
Slide the lower lens up or down to set your detection range.

Step 6.3
Close the front lid
Press the lid firmly until it clicks into place to prevent tampering.
.png)
Tips
Reduce nuisance alarms
Avoid these common installation mistakes that can trigger false alarms.
.png)
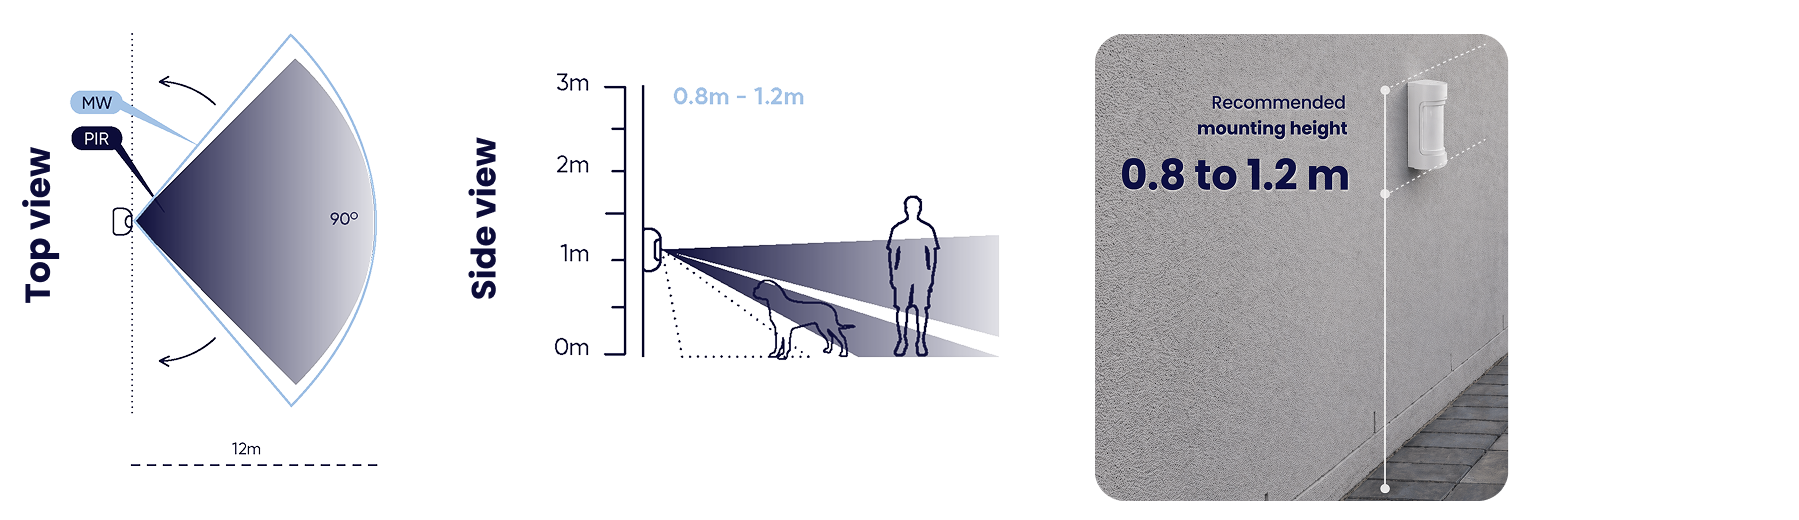
Tips
Mounting mistakes to avoid
Mount between 0.8m–1.2m. Avoid mounting too high or too low.

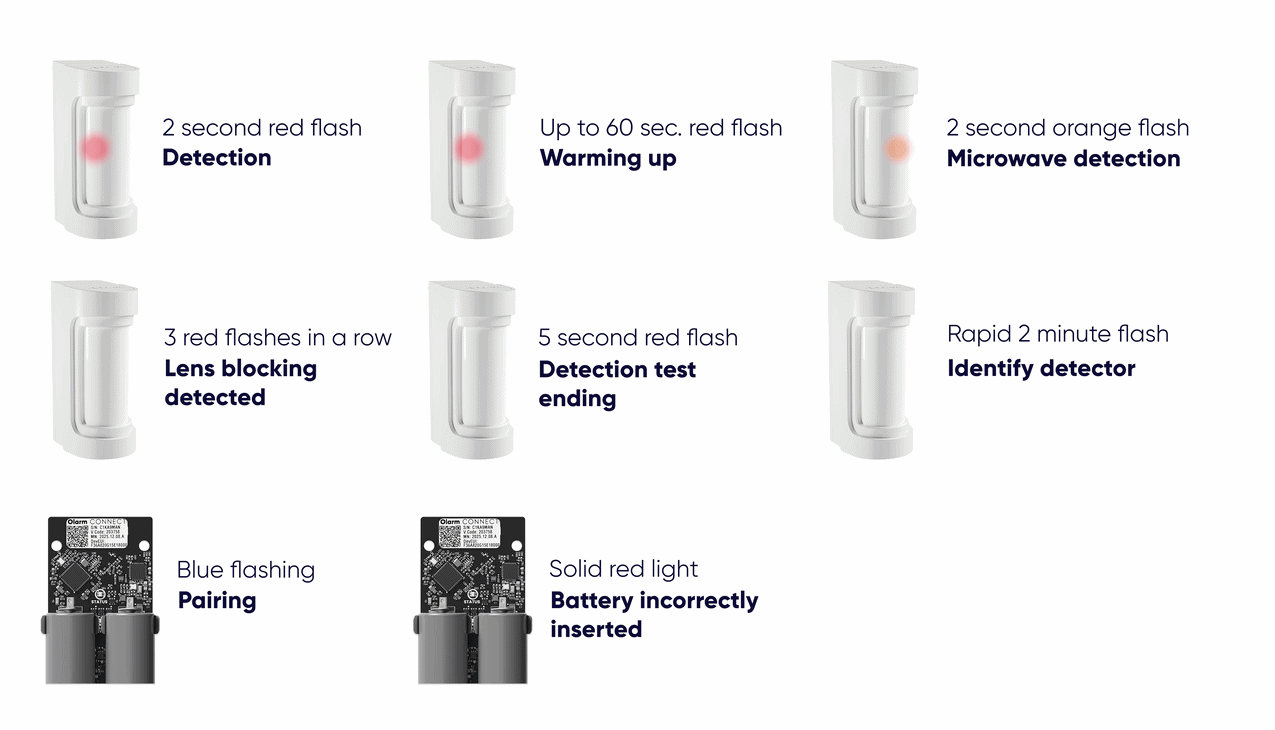
Troubleshooting
LED states
Understand what each LED pattern means on your Olarm 90XS and Olarm CONNECT.
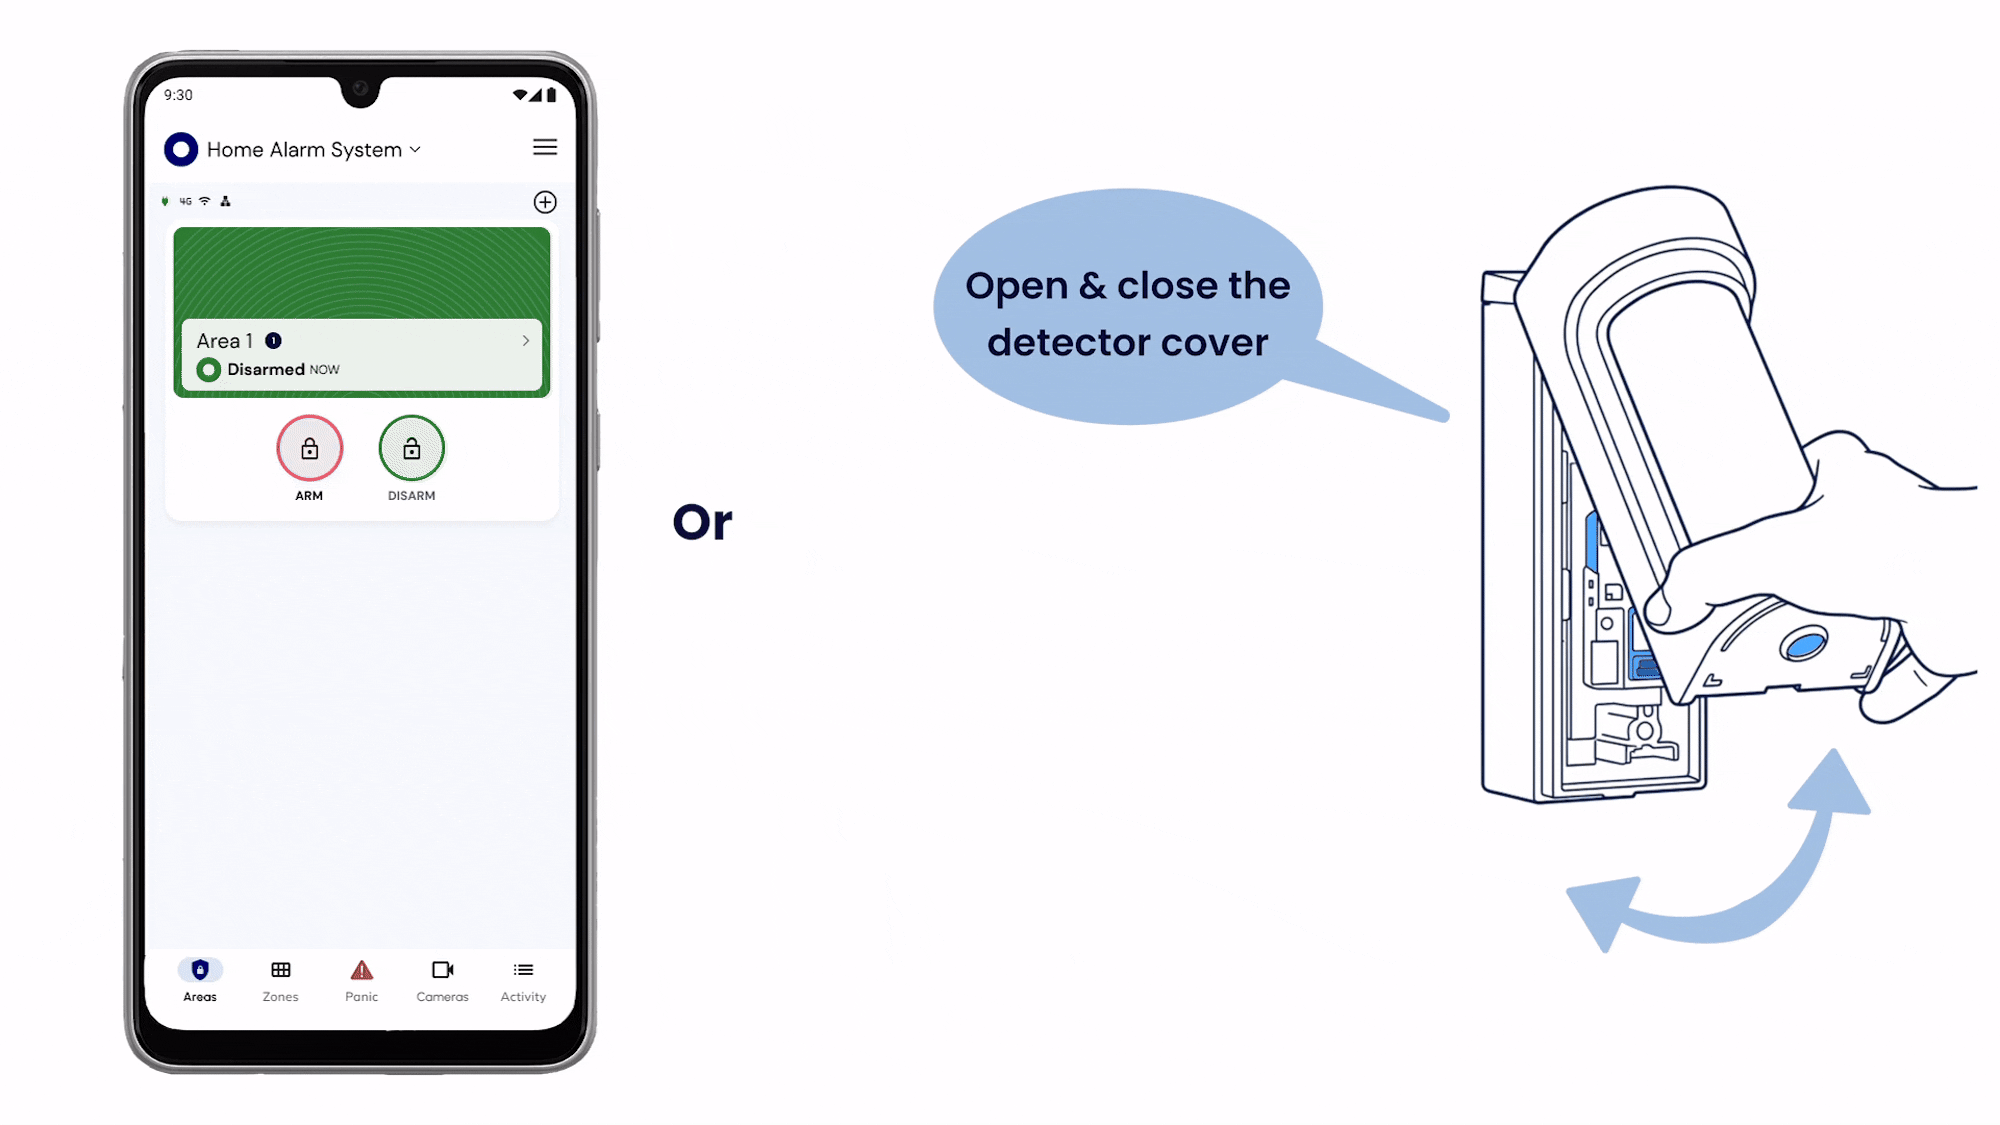
Step 7
Test your detector
Enable Detection Test mode in-app or by opening and closing the cover, then walk through the area to verify coverage. The red and orange LEDs will flash when movement is detected.
.png)