














.png)
Step 1
Open your detector
Open your detector to locate the serial port to install the Olarm CONNECT.

Step 2
Locate the detector's serial port
Each detector's serial port location is different. The serial port is a 4 pin connector behind the detector's front cover.
<GIF>
Step 3
Connect the detector & Olarm CONNECT
Plug the provided cable into the serial port on the Olarm CONNECT transmitter & plug the other end of the cable into the detector's serial port
Step 4
Add your device & configure zone
Scan the QR code on the Olarm CONNECT to add the device, then configure your zone and detector settings.
<90xs>
Step 5
Insert the batteries
Insert the provided CR123A batteries to power up the Olarm CONNECT & detector
Step 6
Secure the Olarm CONNECT
Mount the Olarm CONNECT in the detector's back box using the provided hook & loop tape
Option A
To the back of the detector
Place one side of the hook & loop strip on the back of the inner detector unit & the other on the back of the Olarm CONNECT. Then secure the transmitter.
<90xs>
Option B
Inside the detector back box
Place one side of the hook & loop strip into the back box of the wireless detector & the other on the back of the Olarm CONNECT. Then secure the transmitter.
<snapX>
Step 7
Complete the installation as per relevant detector
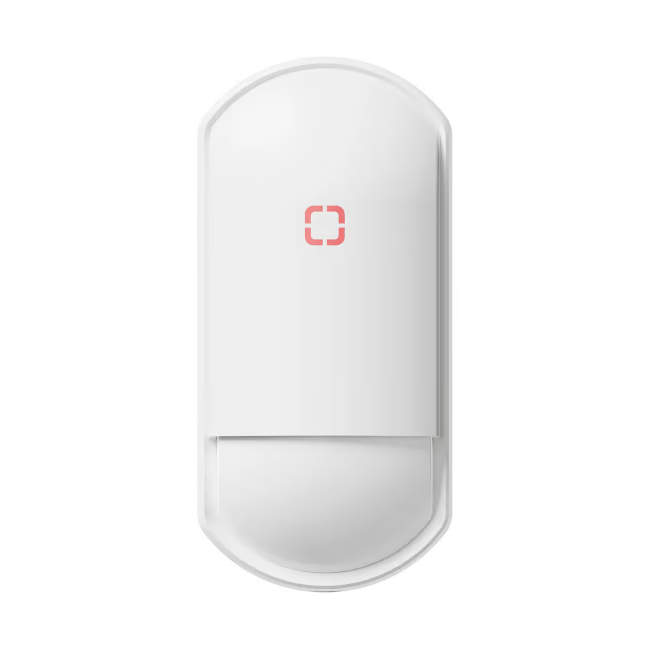
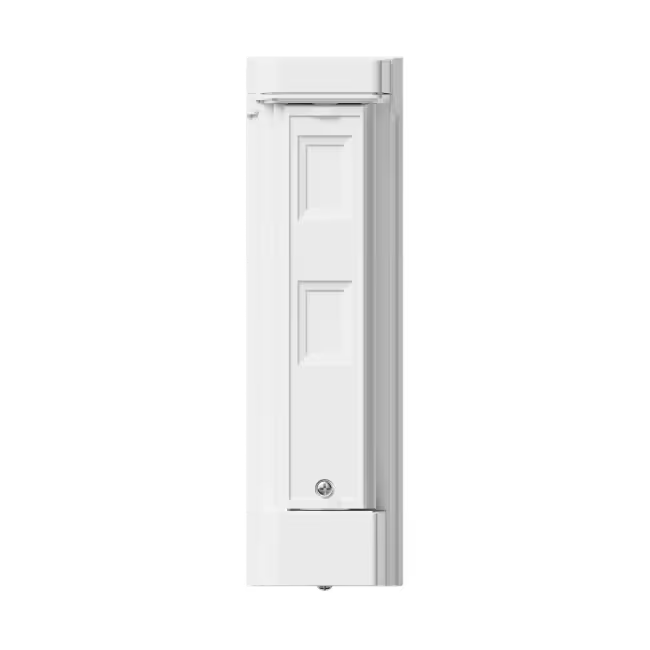
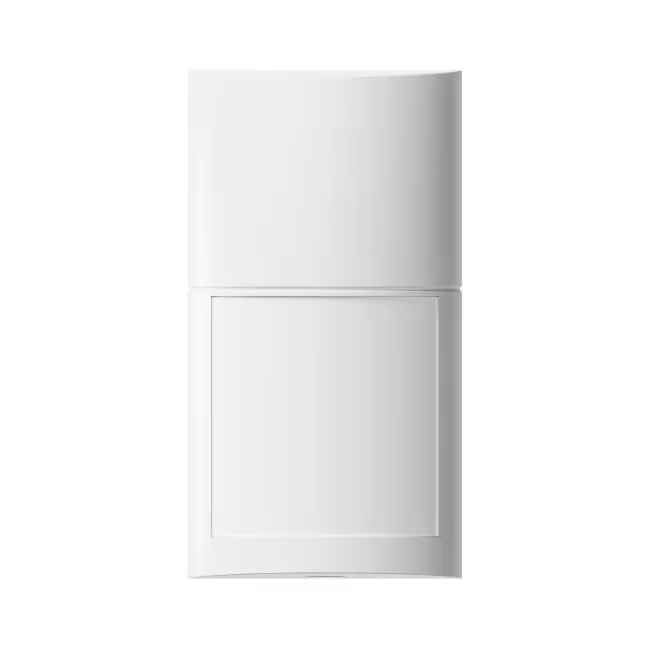
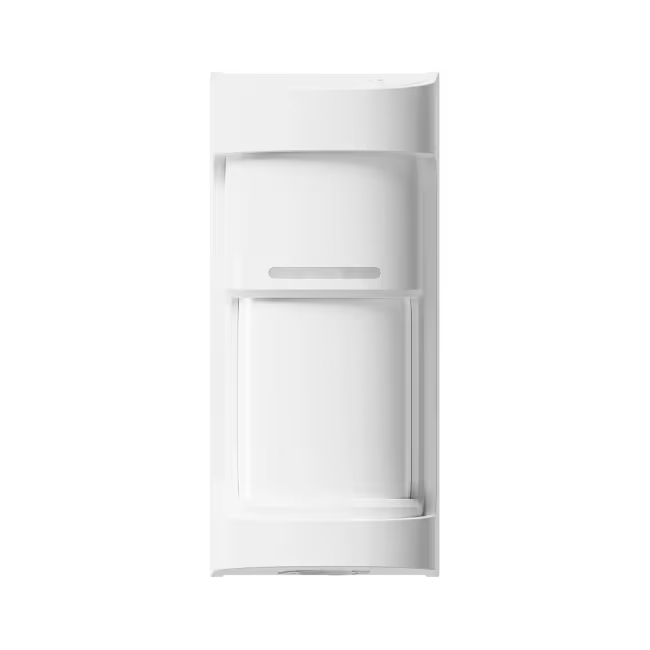
See the links below for your relevant detector installation
<links to the guides>
Tips
Common installation errors
Avoid these common mistakes when installing the Olarm CONNECT on an Optex Wireless Detector
- Ensure no wires are squashed when closing the detector
- Ensure the connector in plugged into the serial port on the Olarm CONNECT
- Secure the Olarm CONNECT with the hook & loop provided
- Install the Olarm CONNECT upright
Troubleshooting
LED states
Understand what each LED pattern means on your Olarm CONNECT.