


.png)
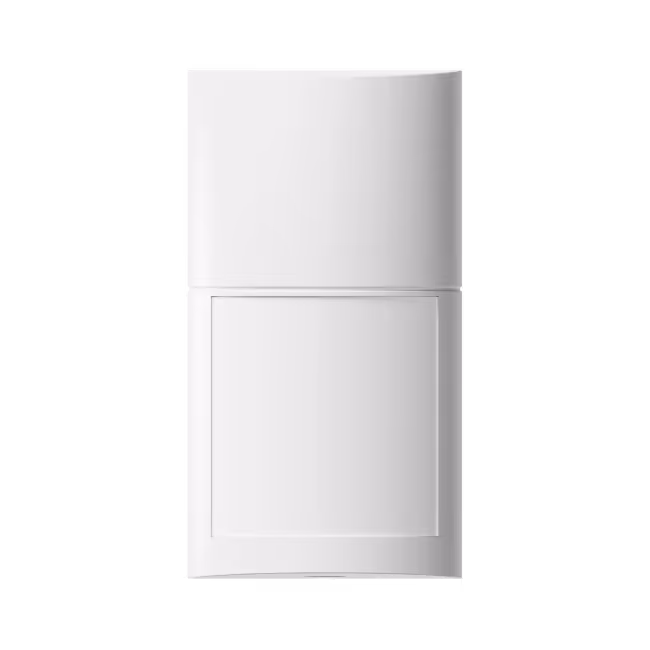
Step 1
Remove the front lid
Use a flathead screwdriver to release the locking screw and lift off the lid.
.png)
Step 2
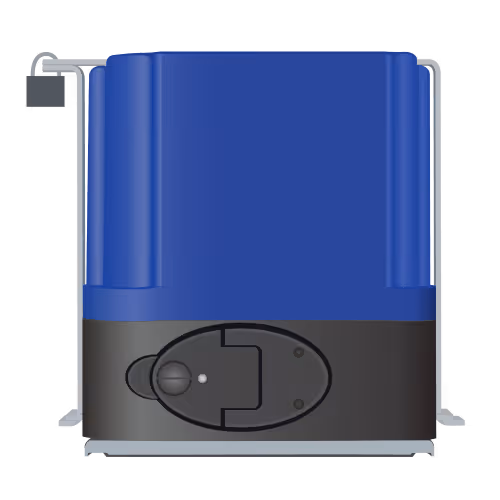
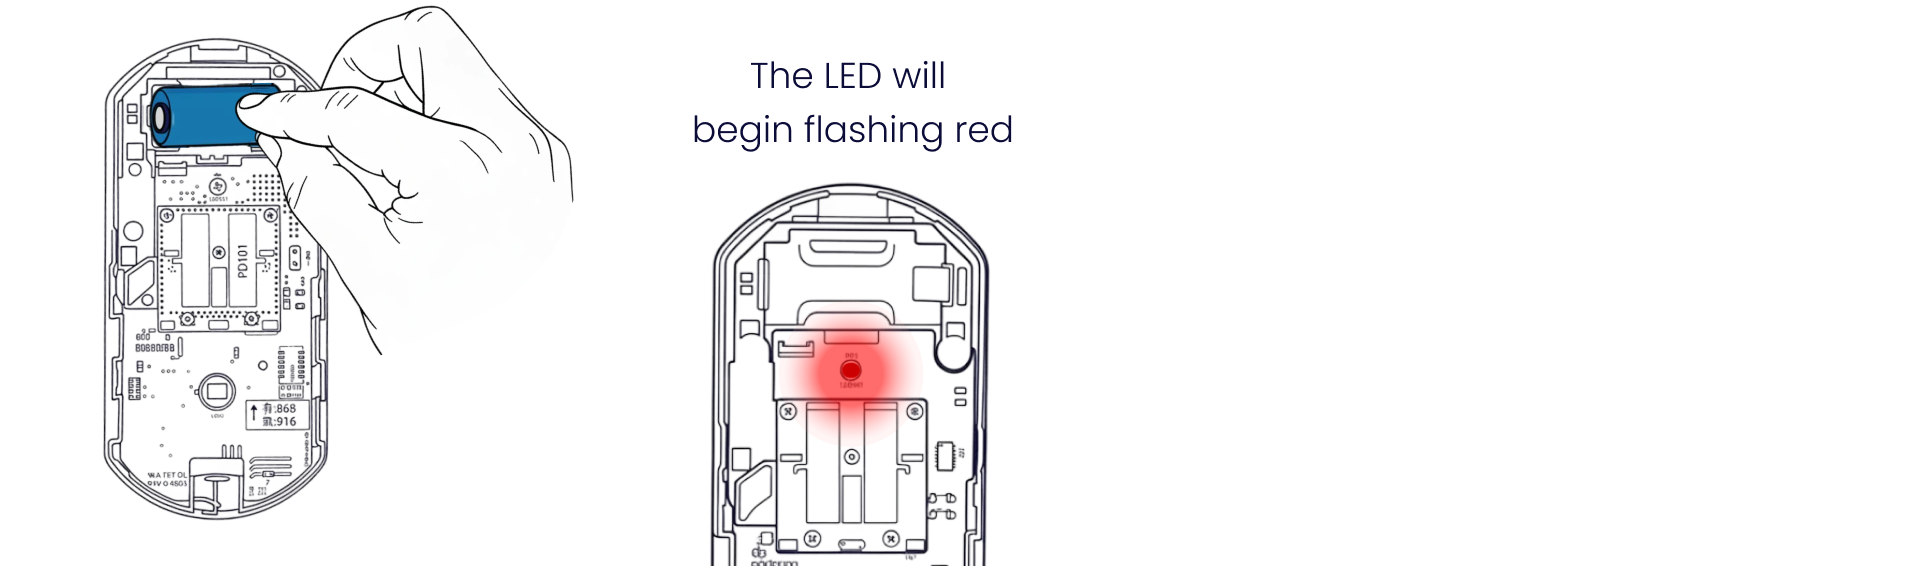
Insert the batteries
Place the battery into the Olarm FlipX. The LED will flash red when powered on correctly to indicate the device is waiting to be added to an Olarm HUB.
Step 3
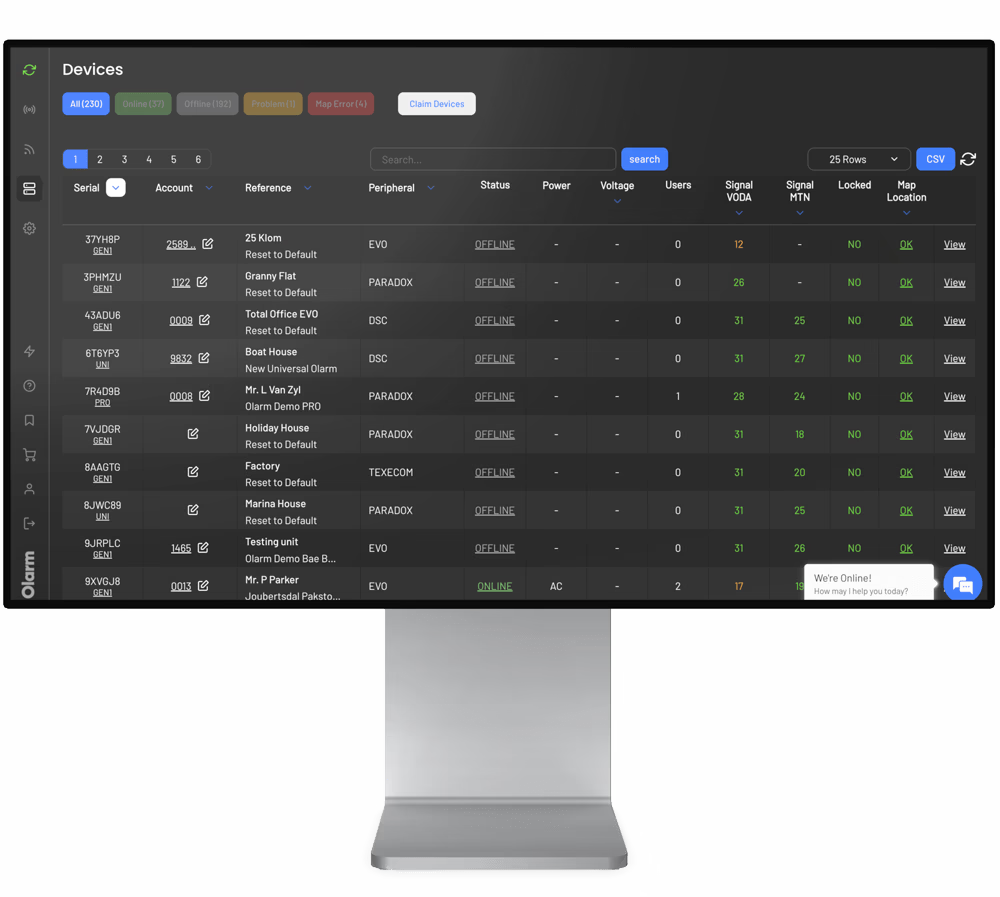
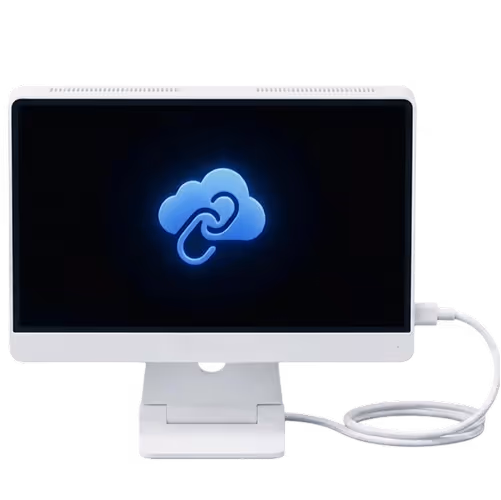
Add your device
Scan the QR code on the Olarm FlipX to add the device, then configure your zone and detector settings.

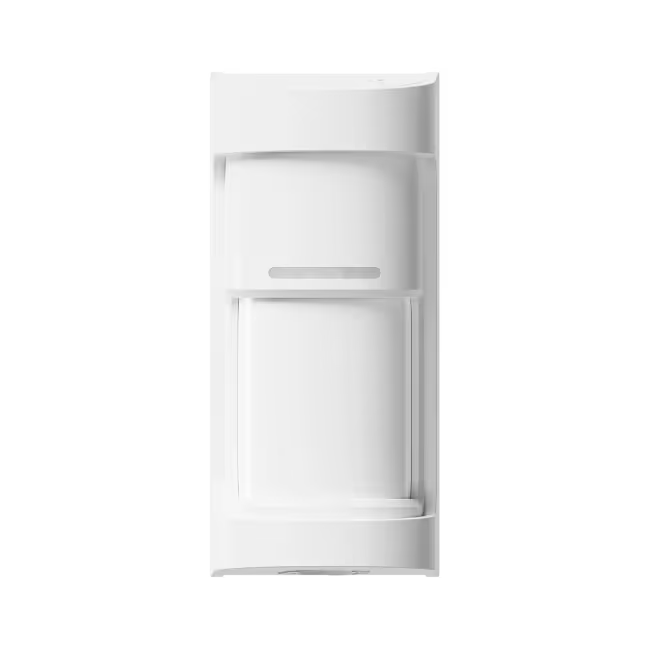
Step 4
Select detection mode
Gently open the clips holding the lens, remove it, and flip it over to switch modes.
.png)
Step 4.1a
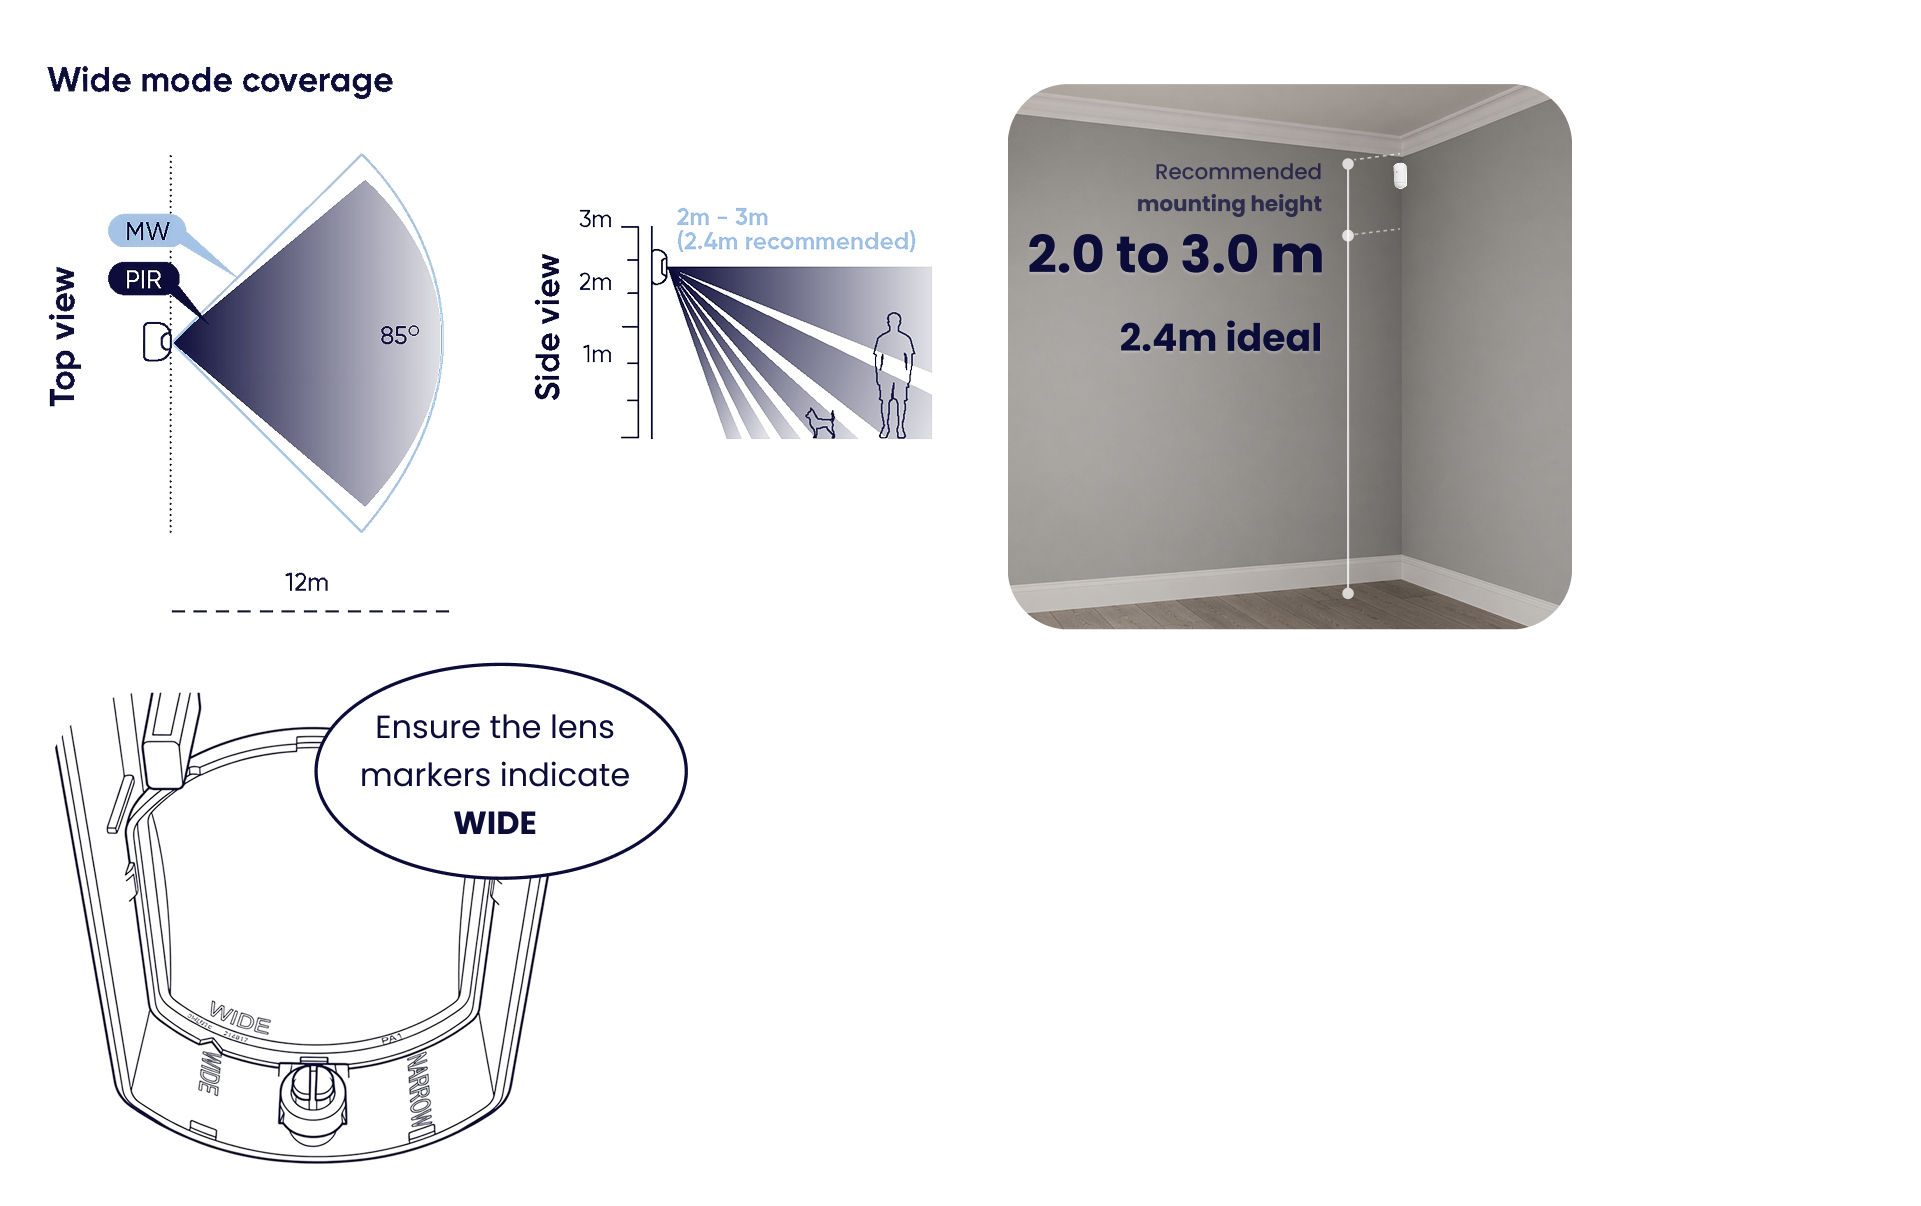
Installing for wide coverage
Install in a corner or suitable wall position where people will move across the coverage path of the FlipX for reliable detection. Mount between 2m–3m (2.4m recommended).
.png)
Step 4.1b
Installing for curtain coverage (narrow)
Install in a suitable wall position aimed along a narrow area, such as a passage or sliding door entrances, where people will cross the FlipX detection path. Ensure the lens markers indicate NARROW. Mount between 2m–3m (2.4m recommended)


Step 5 (Option A)
Mount the FlipX directly onto the surface
Use this option when mounting directly to a wall or corner.
Step 5.1a
Remove the detection unit
Press down on the white clip to release and remove the detection unit.
.png)
Step 5.2a
Secure the mounting plate
Puncture the screw slots for corner or flat surface mounting, then fasten to the surface. Use the tamper screw for extra protection.
.png)
Step 5 (Option B)
Mount the Olarm FlipX using the bracket
Use this option when you need adjustable angling for wall or ceiling mounting. Brackets are ordered separately.
Step 5.1b
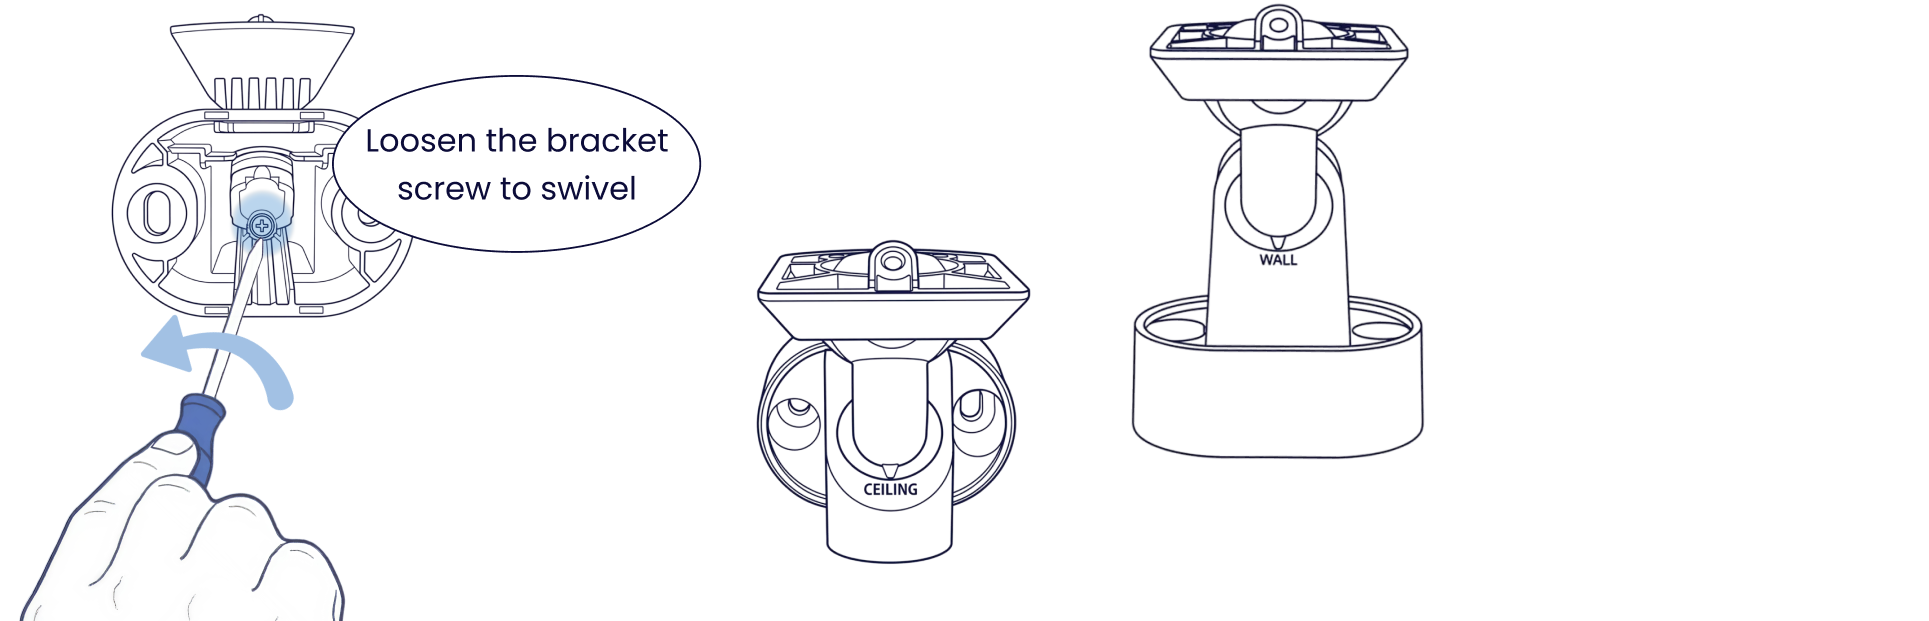
Adjust the bracket orientation
Loosen the orientation lock screw, set your desired position for ceiling or wall mount, then tighten to secure.
Step 5.2b
Secure the bracket to the surface
Fasten the bracket to the wall or ceiling using suitable screws.
.png)
Step 5.3b
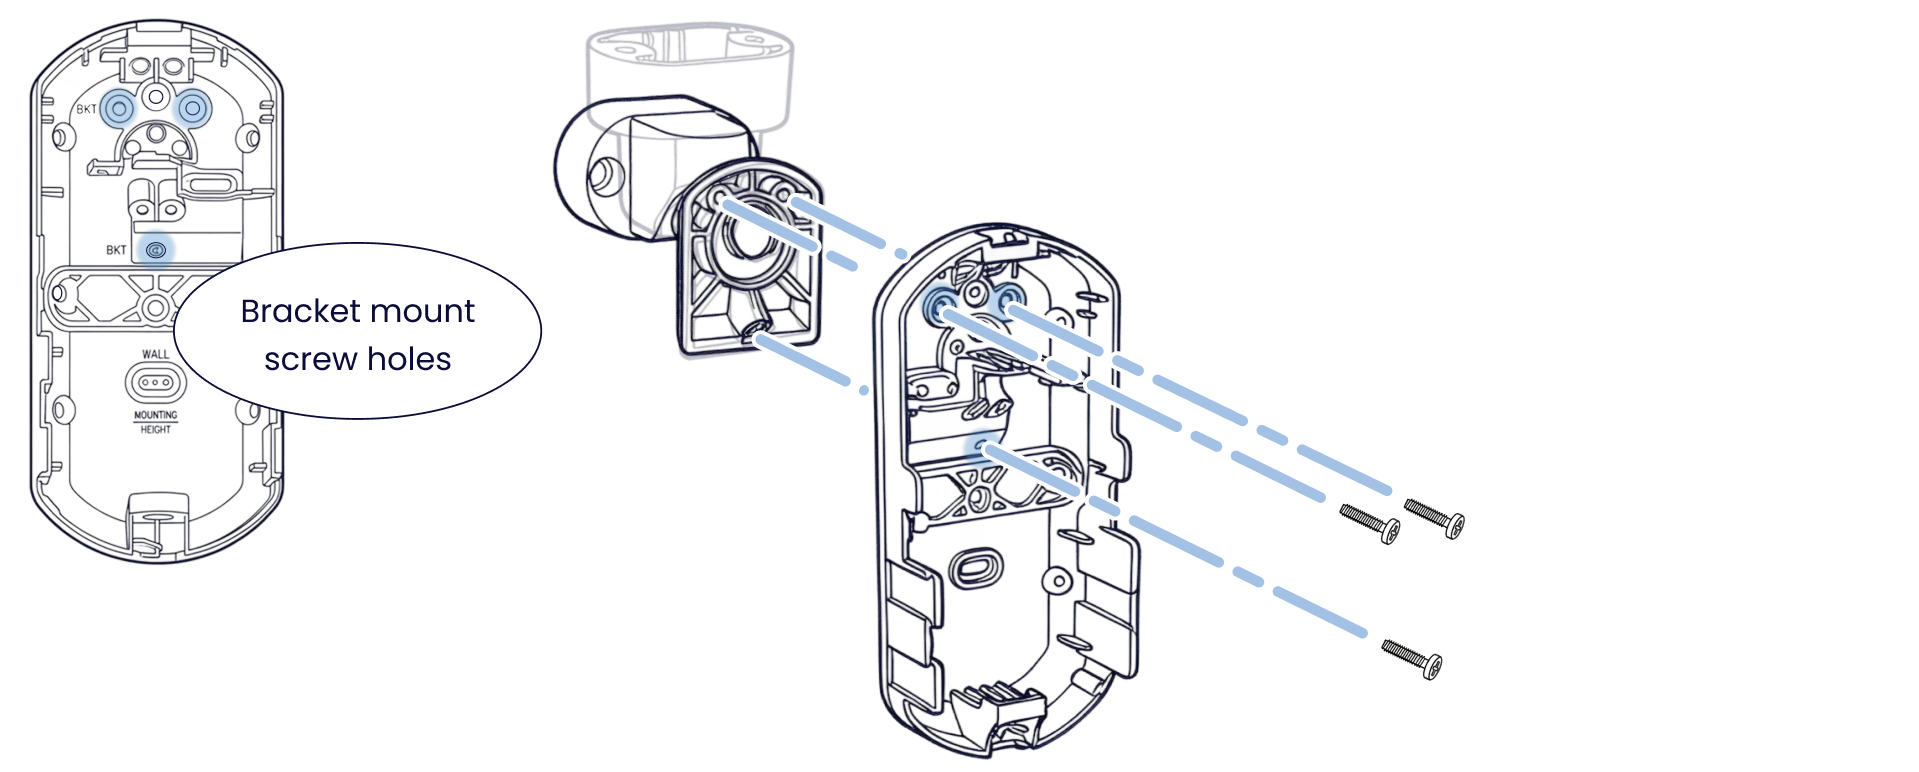
Secure the bracket to the backplate
Attach the backplate to the bracket using the screw holes labelled BKT on the backplate.
Step 5.4b
Adjust the detection angle
Rotate and tilt the detector to set your desired coverage direction.
.png)
Tips
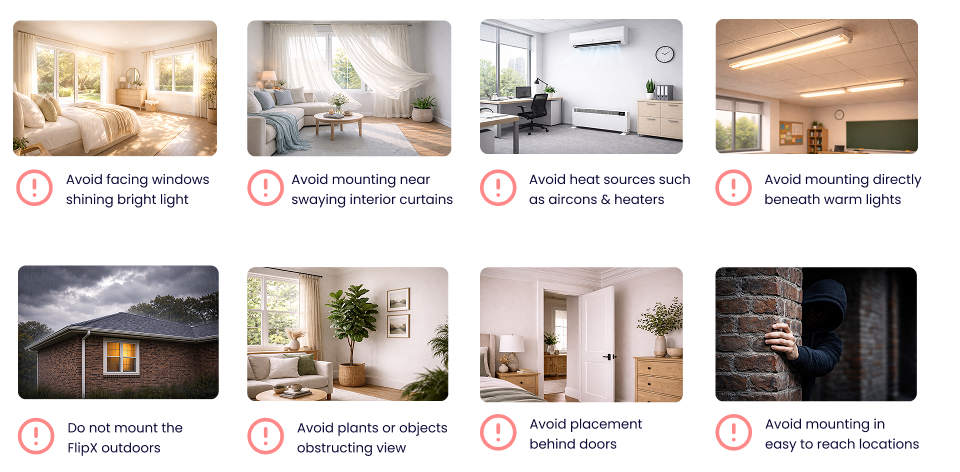
Reduce nuisance alarms
Avoid these common installation mistakes that can trigger nuisance alarms.
Tips
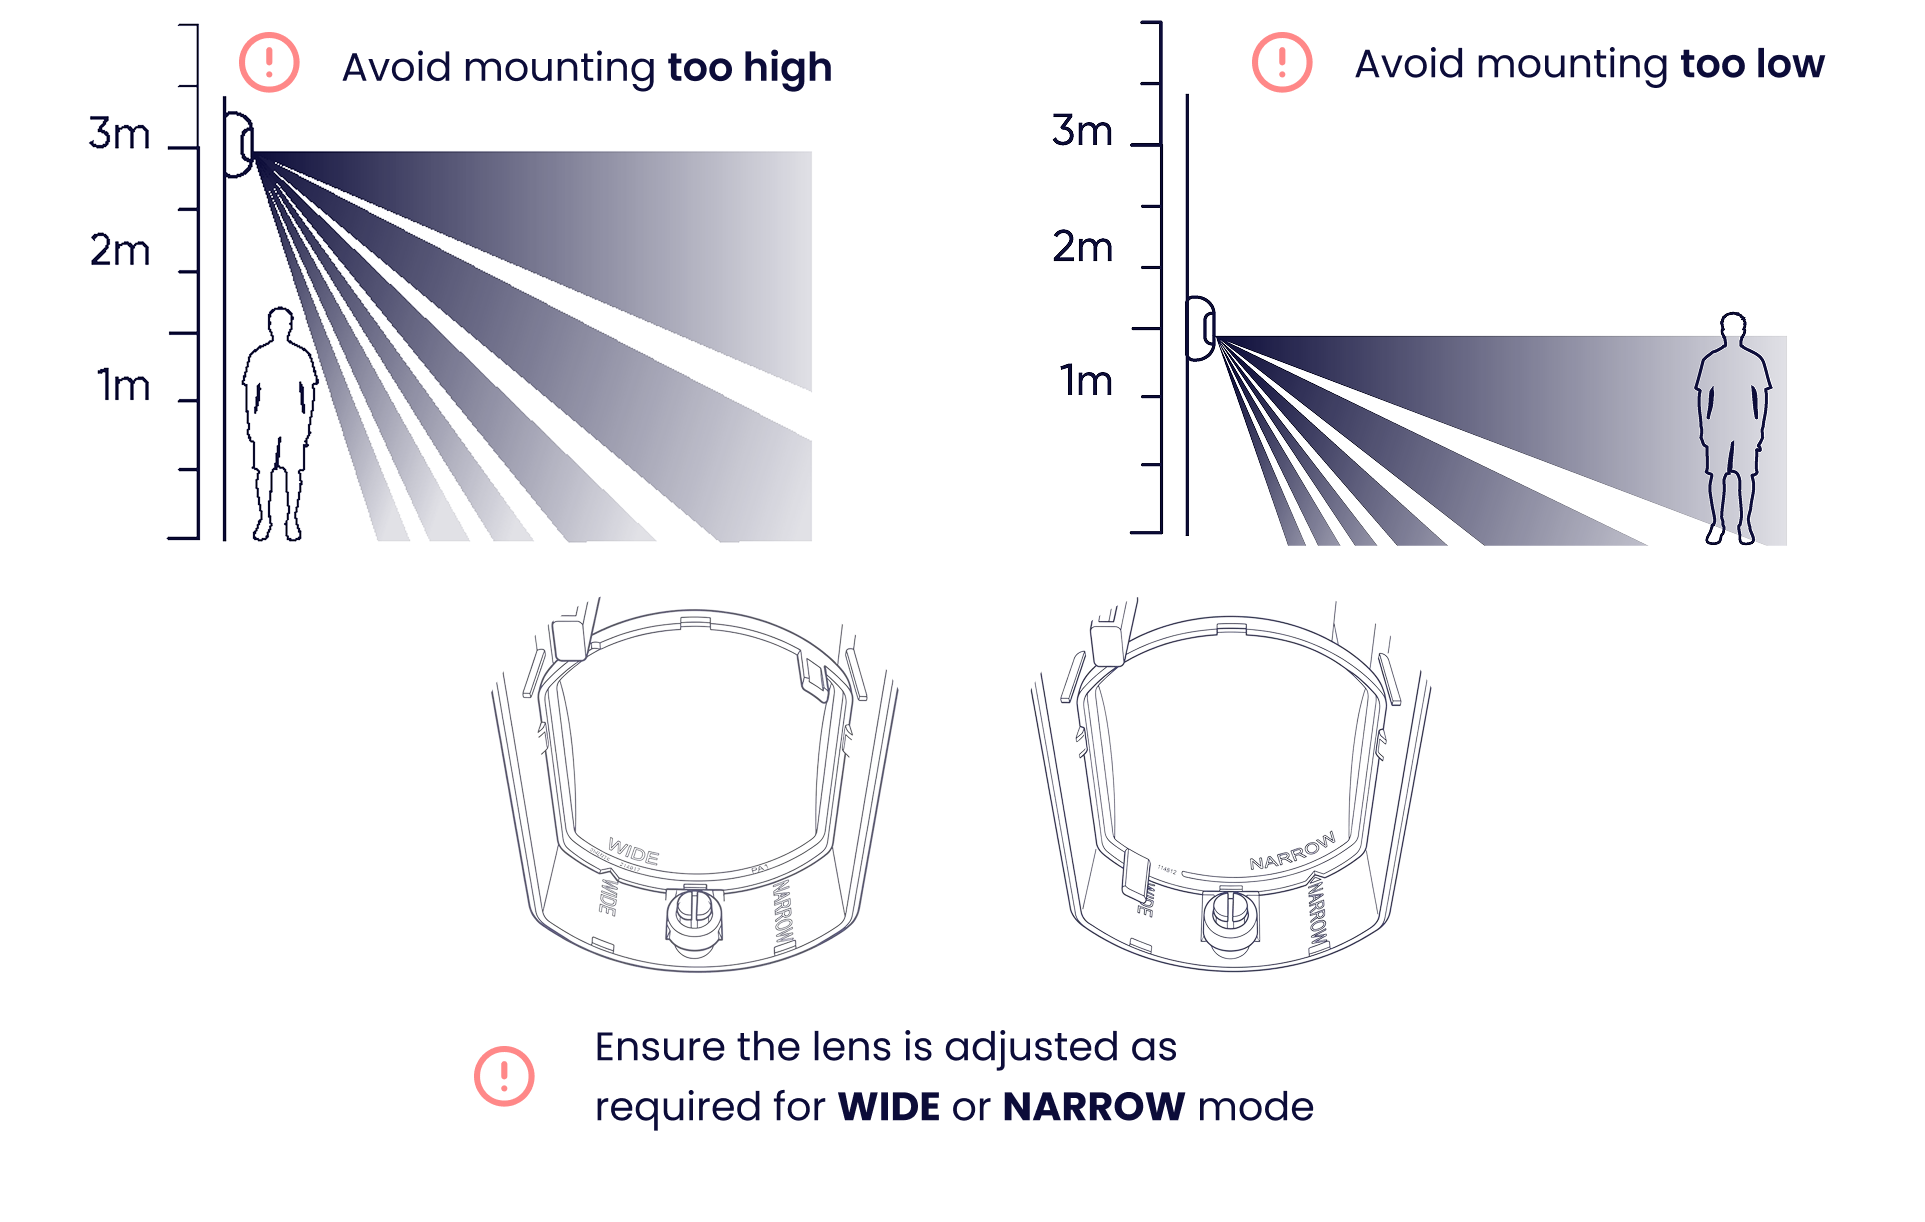
Mounting mistakes to avoid
Avoid mounting too high or too low which may make your detector too sensitive or create dead zones. Stick to the recommended mounting height. Ensure the lens matches your chosen mode (WIDE or NARROW).
Troubleshooting
LED states
Understand what each LED pattern means on your Olarm FlipX.
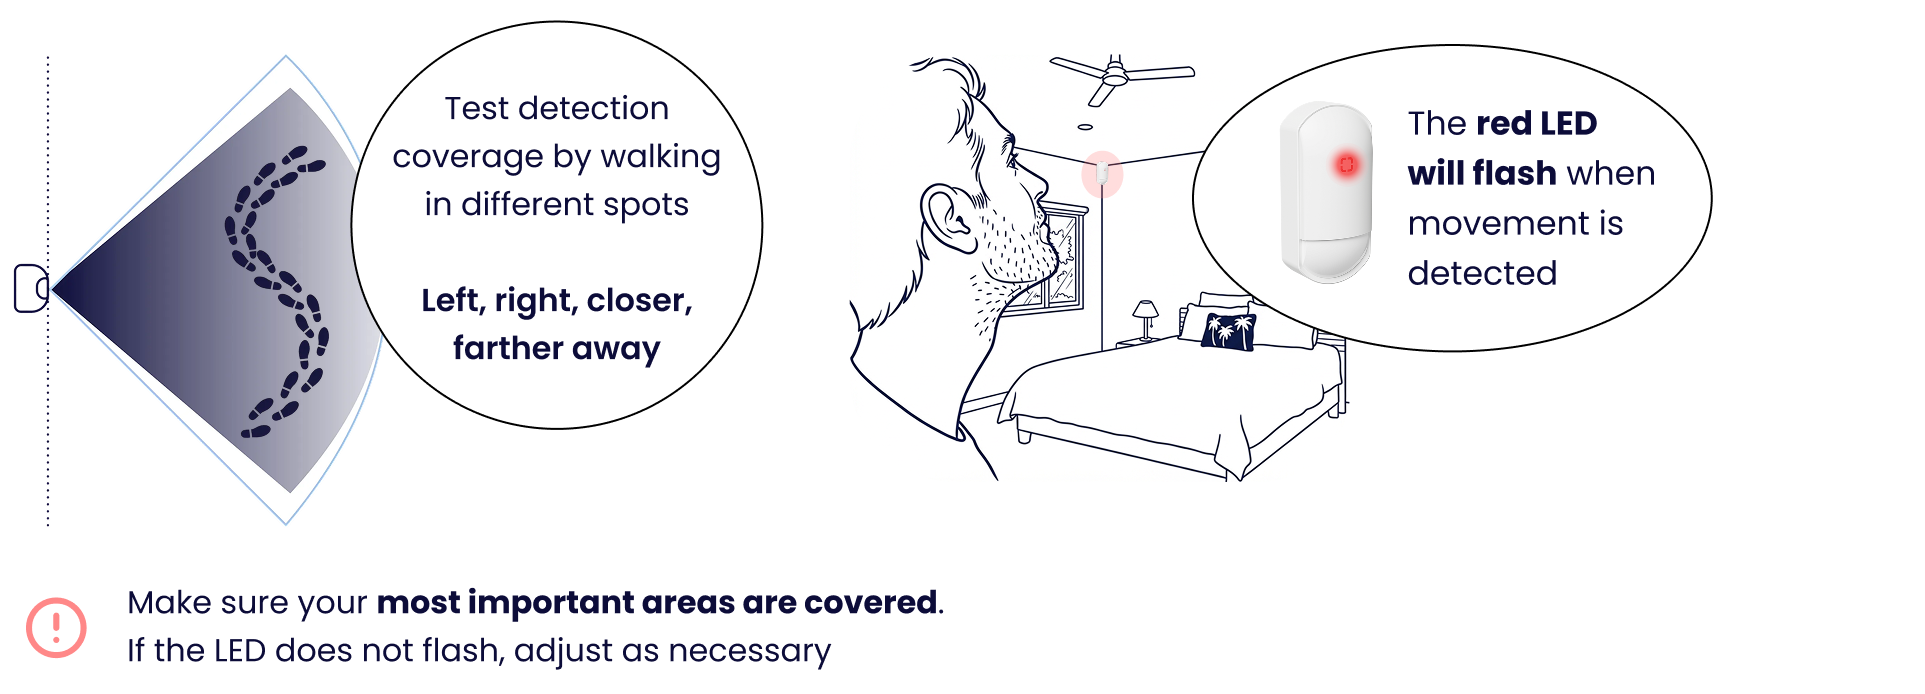
Step 6
Test your detector
Enable Detection Test mode in-app or by opening and closing the cover, then walk through the area to verify coverage. The red LED will flash when movement is detected. Adjust positioning if needed.