


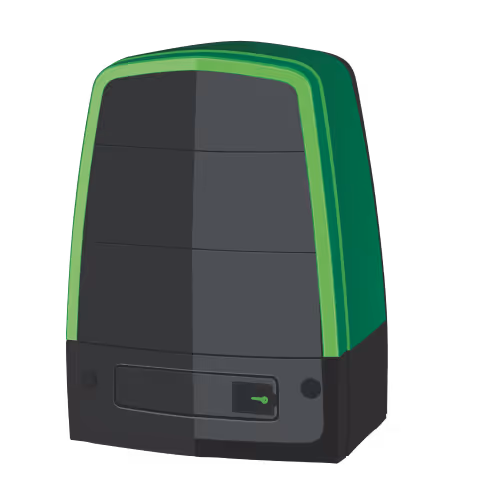

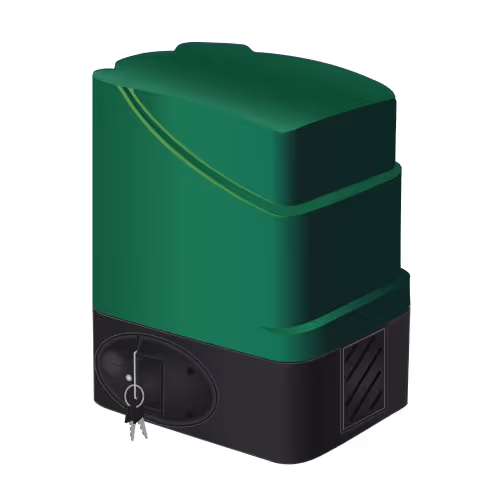


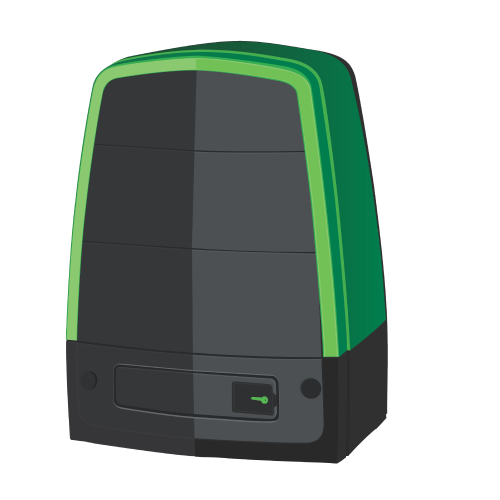
Centurion D10 SMART
For security companies
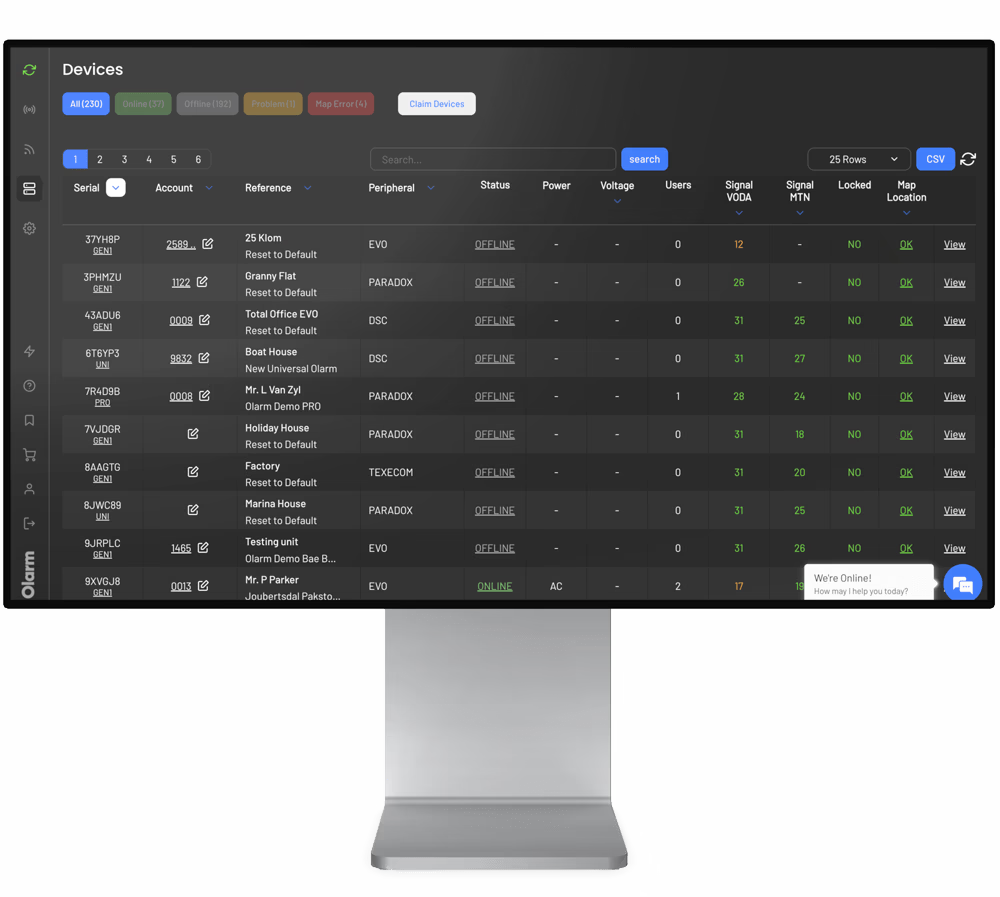
Learn how to set up Contact ID signal monitoring in Olarm Command Centre.

Olarm PRO supports only 1x Olarm LINK
The Olarm PRO will require a Firmware upgrade
Olarm PRO 4G can connect up to 8x Olarm LINKs
- Batches before "-Q" can support one connected Olarm LINK on one Olarm PRO 4G. A firmware upgrade is required.
- Batches including and after "-Q" can support up to 8 connected Olarm LINKs on one Olarm PRO 4G. A firmware upgrade is required.
- Batches ending in "-X" and below will require a Firmware upgrade
Please ensure that you update your Olarm communicator's firmware.
Olarm PRO requires an active subscription to function. You can purchase a subscription through your installer, Alarm response company or directly in the Olarm APP.
📦 What's in the box
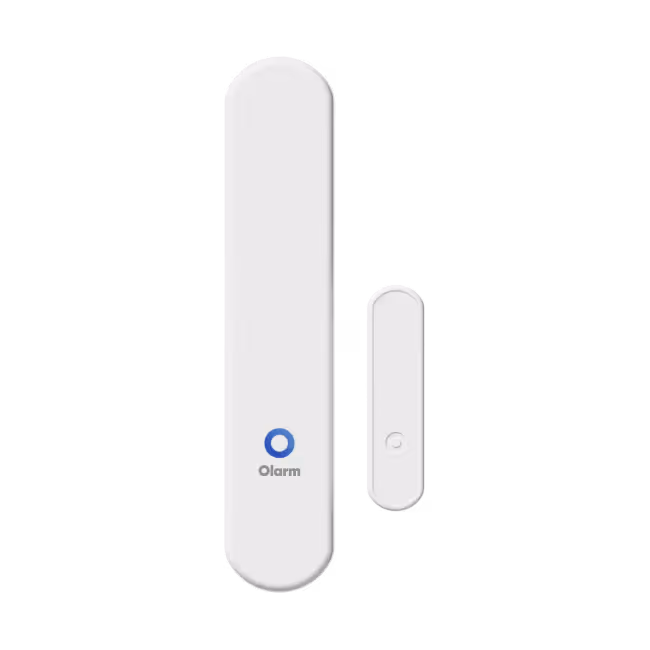
- 1x Olarm LINK device
- 1x Connector cable with one side stripped
- 1x Plastic DIN rail section
- 2x Screws
- 2x Wall plugs
- Quick Start Guide
🛠️ Installation tools required
- Drill with a 5mm bit
- Phillips-head screwdriver
- Flat-head screwdriver
- Wire stripper or side cutters
- Cable for peripheral wiring (4 Core or 6 Core Comms Cable, 2 core Twin Flex or Ripcord)
Connecting to an Alarm System or Electric Fence Energizer

Connecting directly to the gate motor
.png)
Setting up Olarm APP
Compatibility requirements
The Olarm APP must be version 1.3.9 and upwards.
General setup
Upon first install, the Olarm communicator might appear to be in a Problem state. This means that you will need to first set up the connection type for your Olarm communicator.
- From the Device list dropdown under Offline devices, tap on the device that is in a Problem state
.png)
This takes you to the Device setup page
2. From the Olarm PRO setup dropdown, confirm your connection type by choosing [Yes] or [No]
a. Select [Yes] - if the Olarm communicator will be connected to an alarm panel or electric fence (energizer)
b. Select [No] - if the Olarm communicator will only be used for your peripherals
3. Any Olarm LINKs detected for your Olarm communicator can be accessed from Linked peripherals

Configuring your Olarm LINK
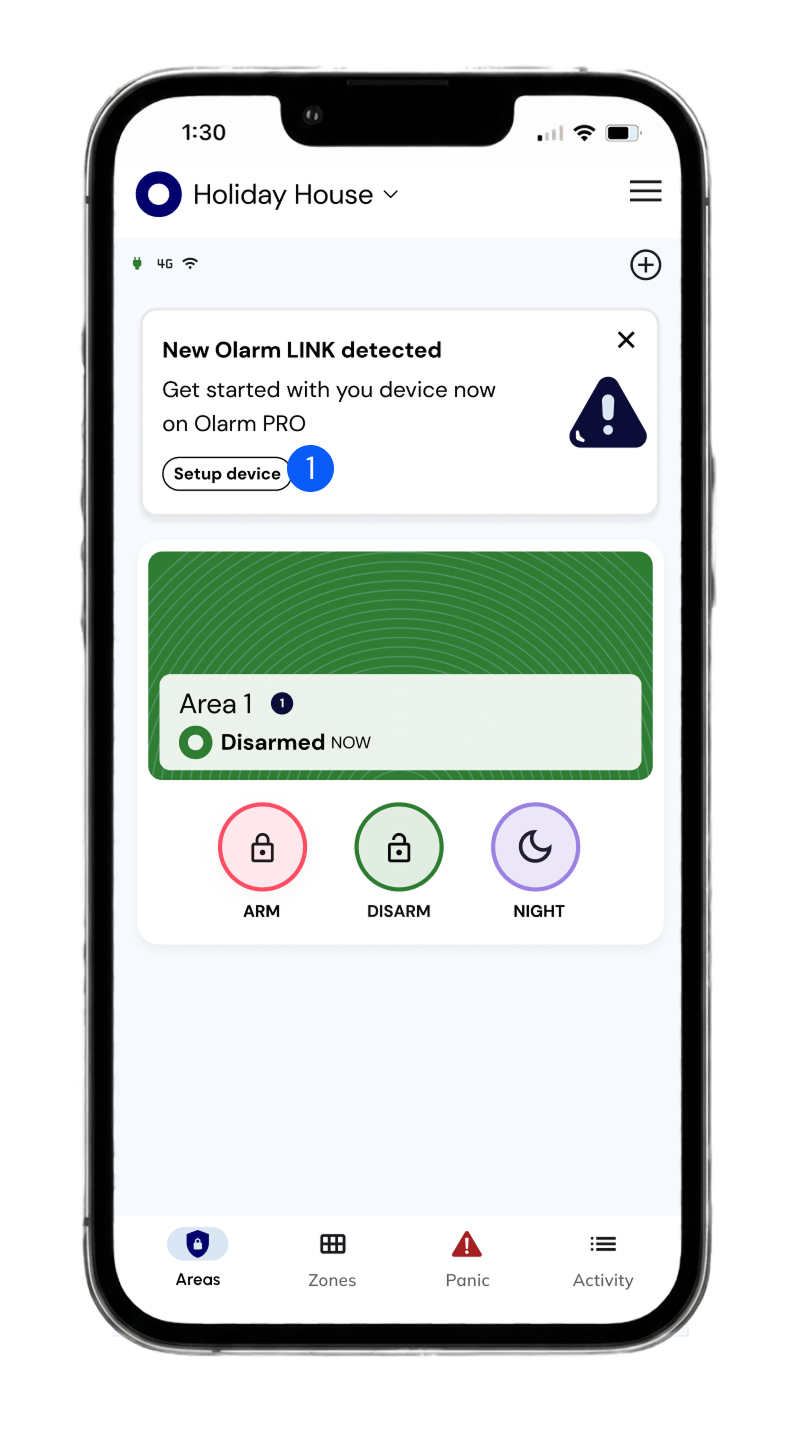
When a new Olarm LINK has been detected by your Olarm communicator, a banner will appear on the home screen.
1. Tap on Setup device
2. Under Connected peripherals, tap on your Olarm LINK to begin setup

3. At Olarm LINK name, enter your preferred display name [eg. Outdoor controls]
4. Select the port used for the peripheral

Configuring an IO as an Output
- Select the IO port

2. At Port name, enter your preferred display name [eg. Gate]
3. Open Settings

4. For Port type, select [Output]
5. Under Select mode, for Mode select [Pulse]
6. For Duration, set the Time to [500] and Units [milliseconds]

7. Customise the Button icon and Button colour to your preference
Note: Button text is optional
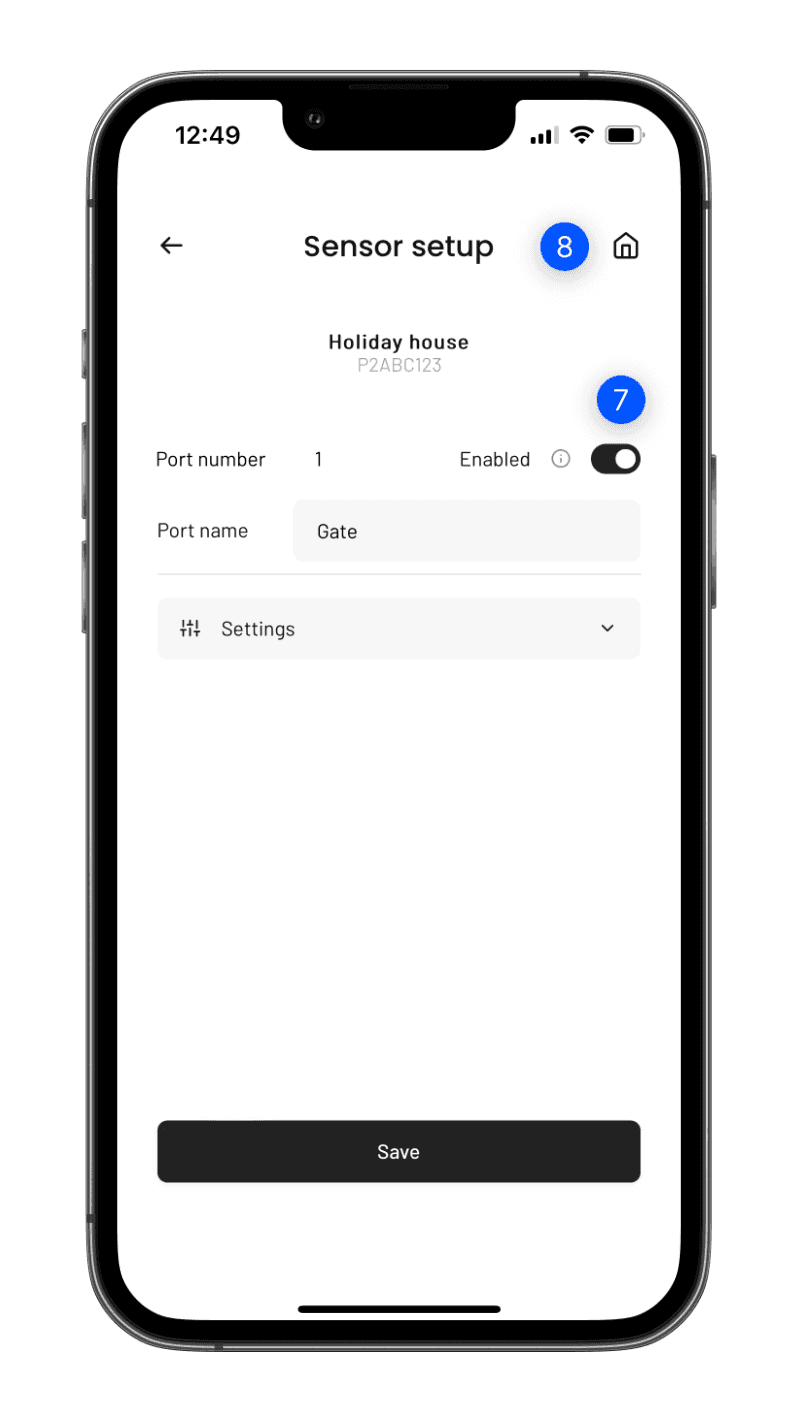
8. For the question “What is this port used for?”, select the [Gate] icon
9. Tap Save

10. Scroll to the top of the screen and enable your port by toggling Disable to [Enable]
11. Tap Home to return to the device home screen

12. The Output port is now ready
.png)
Configuring a Sensor as a Smart Input
- Select the Sensor port


4. For Port type, select [Smart input]
5. For Peripheral, select [Centurion D5 SMART]
6. Tap Save

7. Scroll to the top of the screen and enable your port by toggling Disable to [Enable]
8. Tap Home to return to the device home screen
9. The Smart Input is now ready
.png)
Check Olarm LINK states
White
System is booting up
Flashing Green
Waiting for wired connection
Flashing Blue
Waiting for Cloud connection
Blue
Connected, all okay
Red
No wired connection found
Orange
No Cloud connection found
Purple
Firmware upgrading
Blue & Orange
Identify
Check Olarm PRO states
White
System is booting up
Flashing Green
Connecting to panel
Flashing Blue
Connecting to cloud
Blue
Connected, all okay
Red
Cannot connect to panel
Orange
Cannot connect to cloud
Yellow
WPS mode active
Red & Orange
Cannot connect to panel & cannot connect to cloud
Purple
Firmware upgrading - Do not power off the device
Purple & Blue
Connected, all okay & Firmware upgrading - Do not power off the device
Purple & Green
Connecting to panel & Firmware upgrading - Do not power off the device
Purple & Red
Cannot connect to panel & Firmware upgrading - Do not power off the device
Need help? Contact our support team